The Listing Wizard, End to End
The complete walkthrough of PODMACH's listing wizard: design, product, placement, mockups, details, pricing, preview, publish.
The listing wizard is the center of PODMACH — the assembly line that turns a design in your library into a live listing in your store. Here's every step, with the judgment calls that matter at each one.
Before you start
You'll move fastest with three things ready: a store connected, Printify connected, and at least one design uploaded. (All covered in the Quick Start.)
Head to Listings → Create.
Step 1 — Design selection
Pick the design from your library. The wizard leads with the design — everything after this step builds around the artwork you choose here.
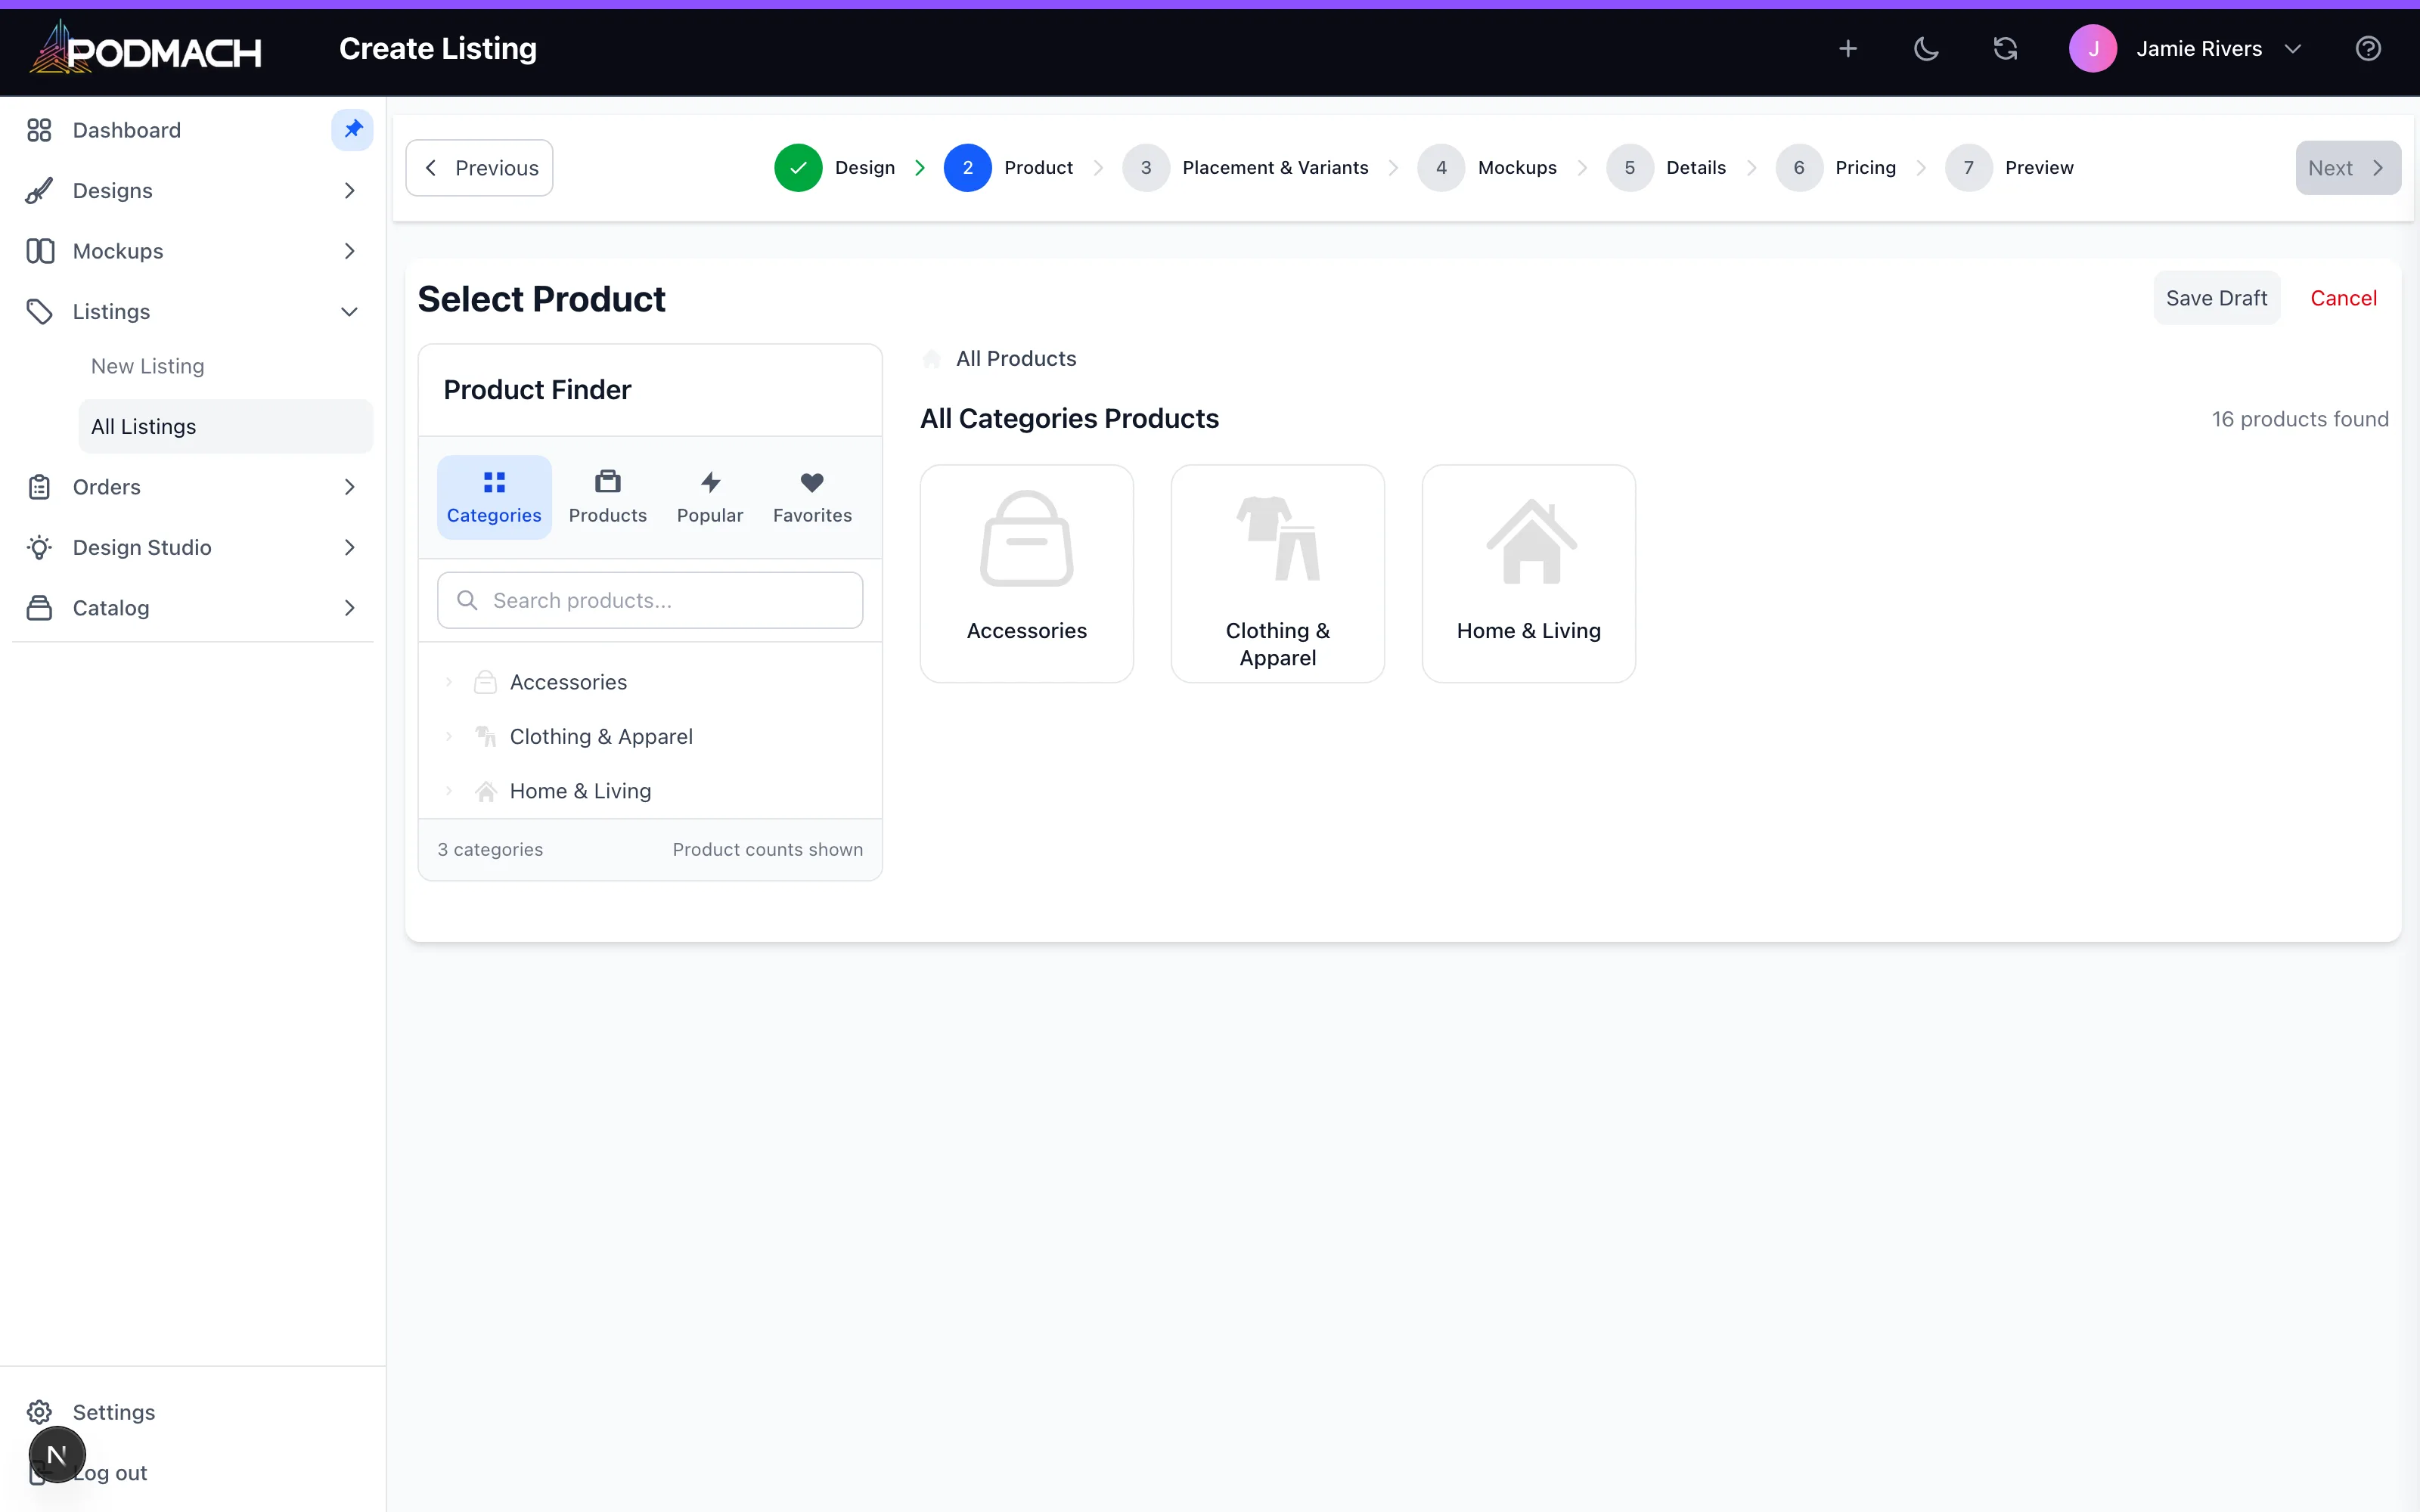
Step 2 — Product selection
Choose the blueprint and print provider. The wizard draws live from your synced catalog, so you're seeing real variants and real base costs. Decisions here:
- Which variants to offer. More colors isn't automatically better — offer the colors your design actually looks good on. Every enabled variant is a promise that the combination works.
- Which provider. Balance base cost, location, and quality (see Connecting Printify for the full framework).
Step 3 — Placement & variants
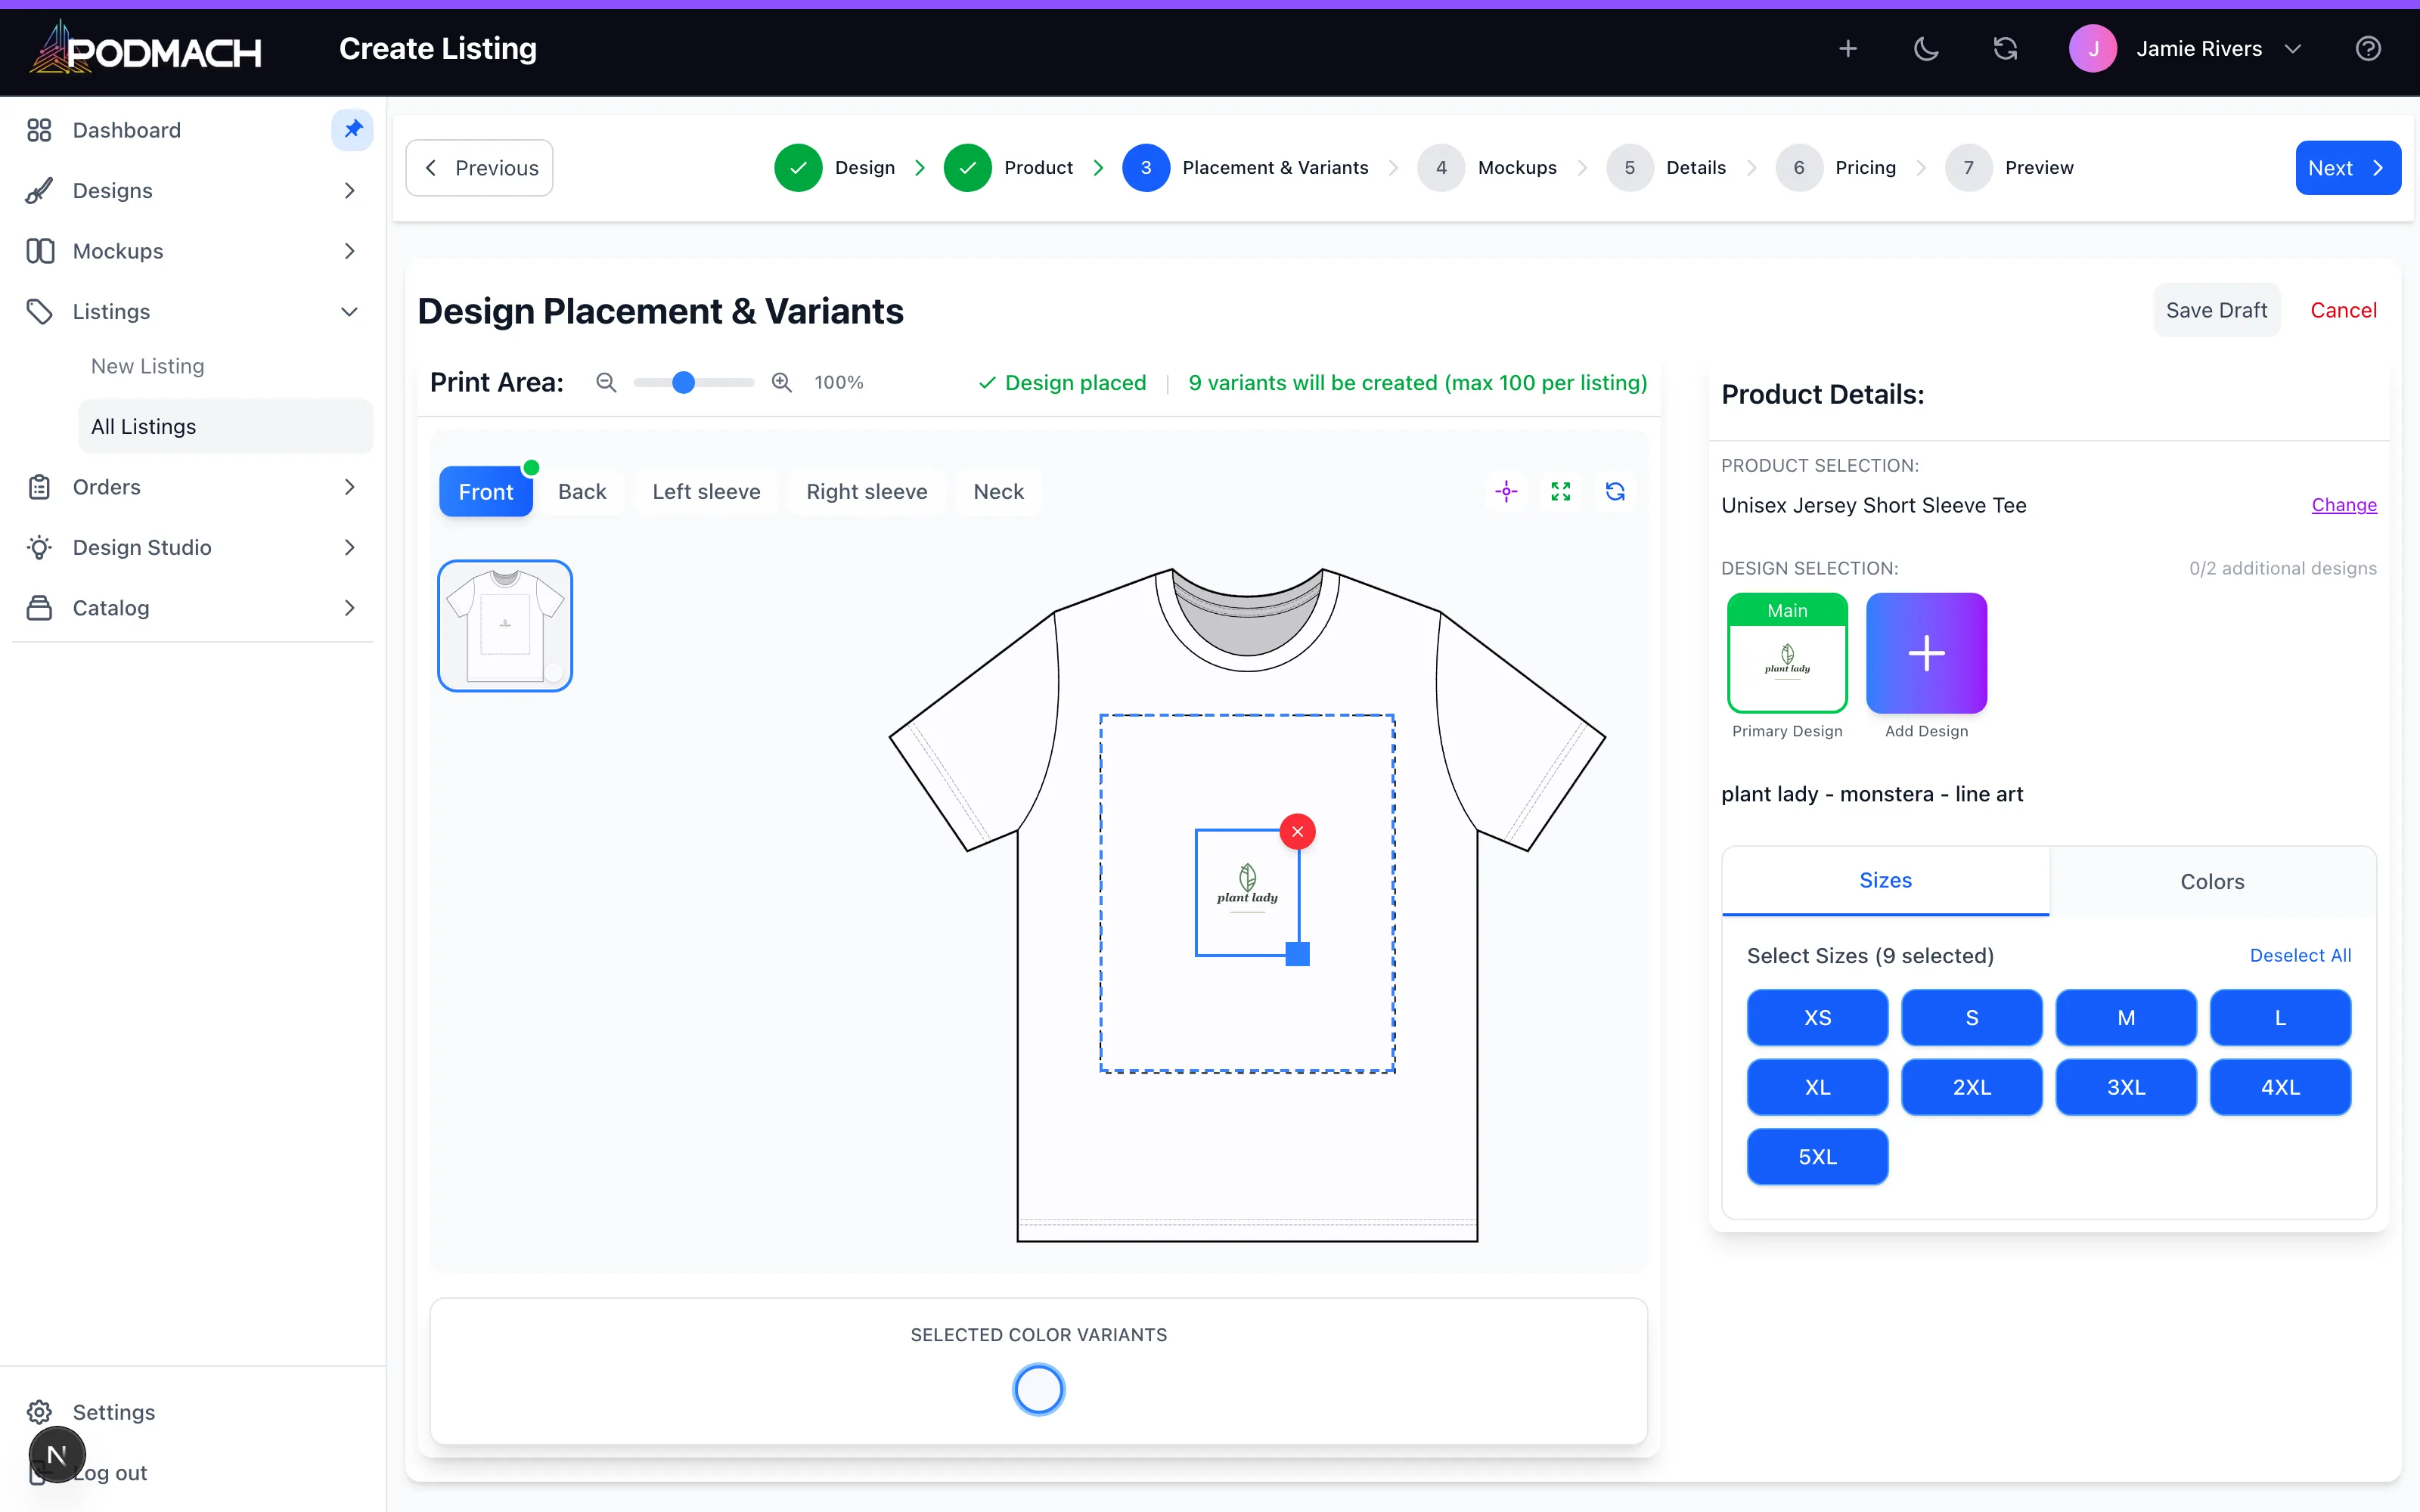
Position your design on the product. The placement editor shows the printable area — where you can drag, scale, and align.
- Centered full-front is the default for a reason; deviate deliberately, not accidentally.
- Check placement against each color variant you enabled — a black design vanishes on a black shirt. Assign per-variant designs where needed (light design on dark garments, dark on light).
- Watch the safe-area boundaries; art at the very edge risks trimming in production.
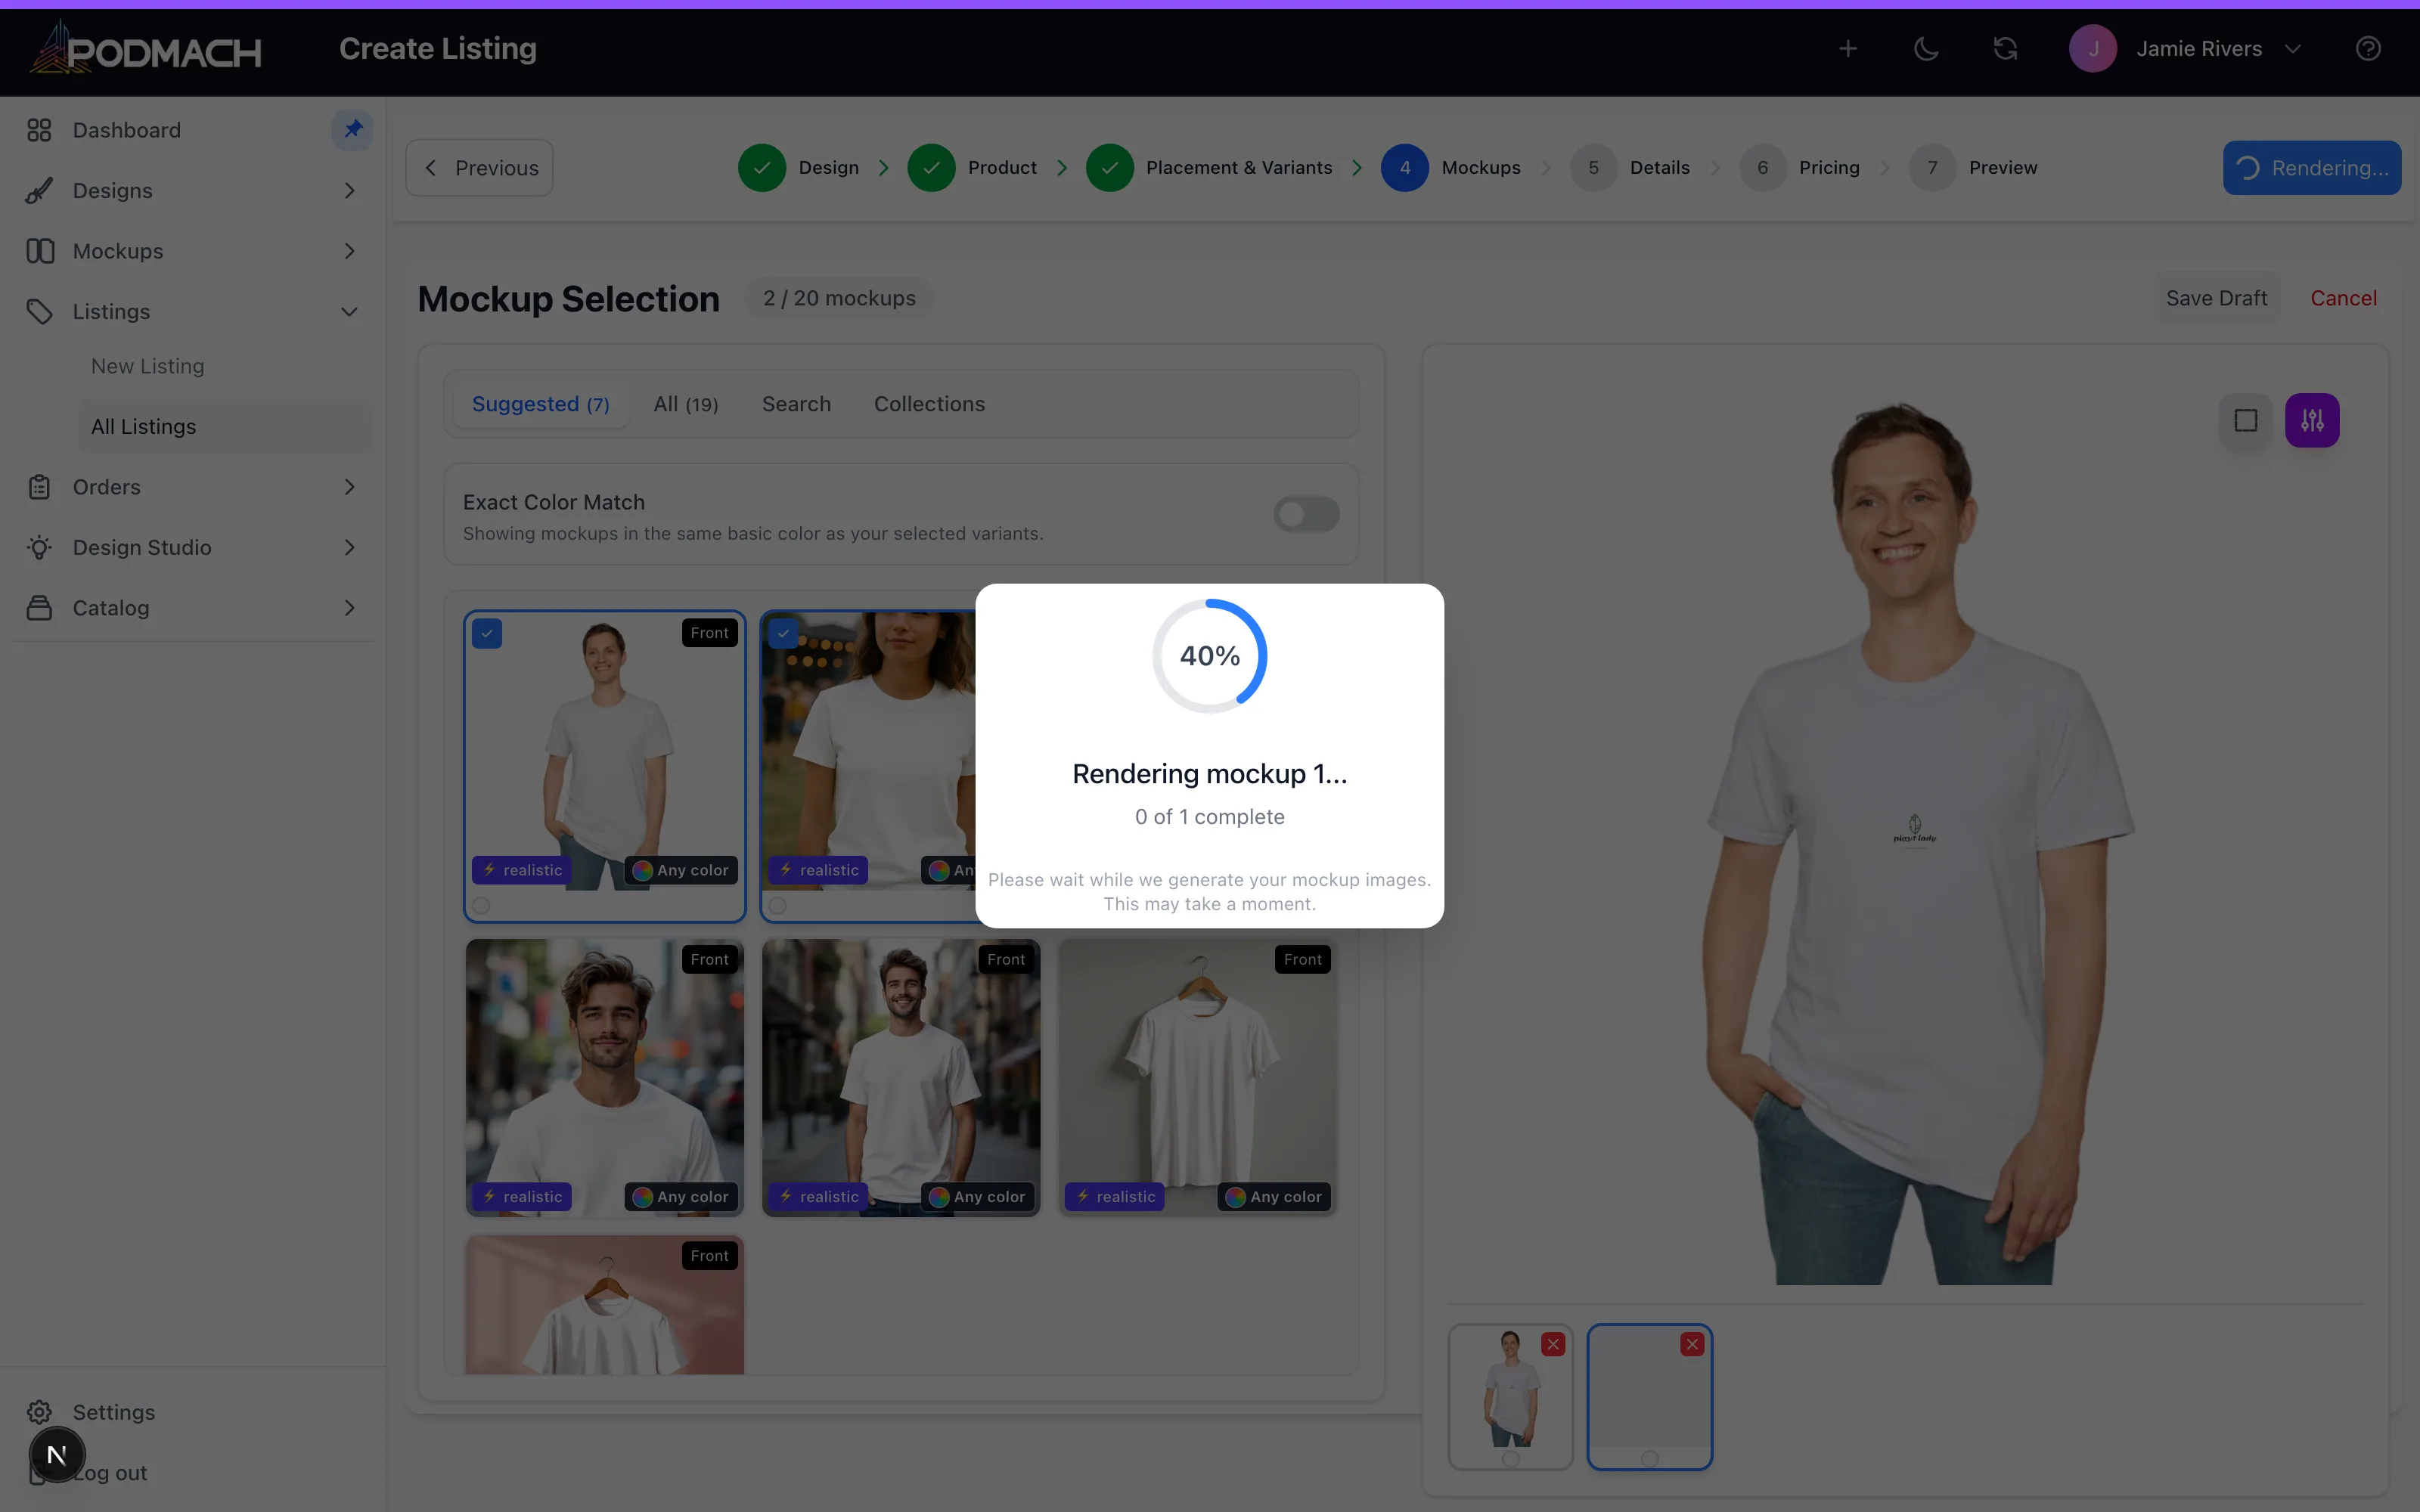
Step 4 — Mockup selection
Choose the images buyers will see. If you've built mockup collections (see Mockups That Sell), this step is one click. Either way: lead with a hero image that's readable at thumbnail size.
Step 5 — Listing details
Title, description, and tags — the SEO layer:
- Title: front-load what a buyer would type. "Funny Nurse Shirt, Coffee Lover Nurse Gift, ER Nurse Tee" beats "The Caffeinated Caregiver."
- Description: first sentence sells (it shows in previews), the rest informs — materials, sizing guidance, care, production time.
- Tags (Etsy): use all thirteen. Multi-word phrases. Think buyer intent: occasions, recipients, styles, niches.
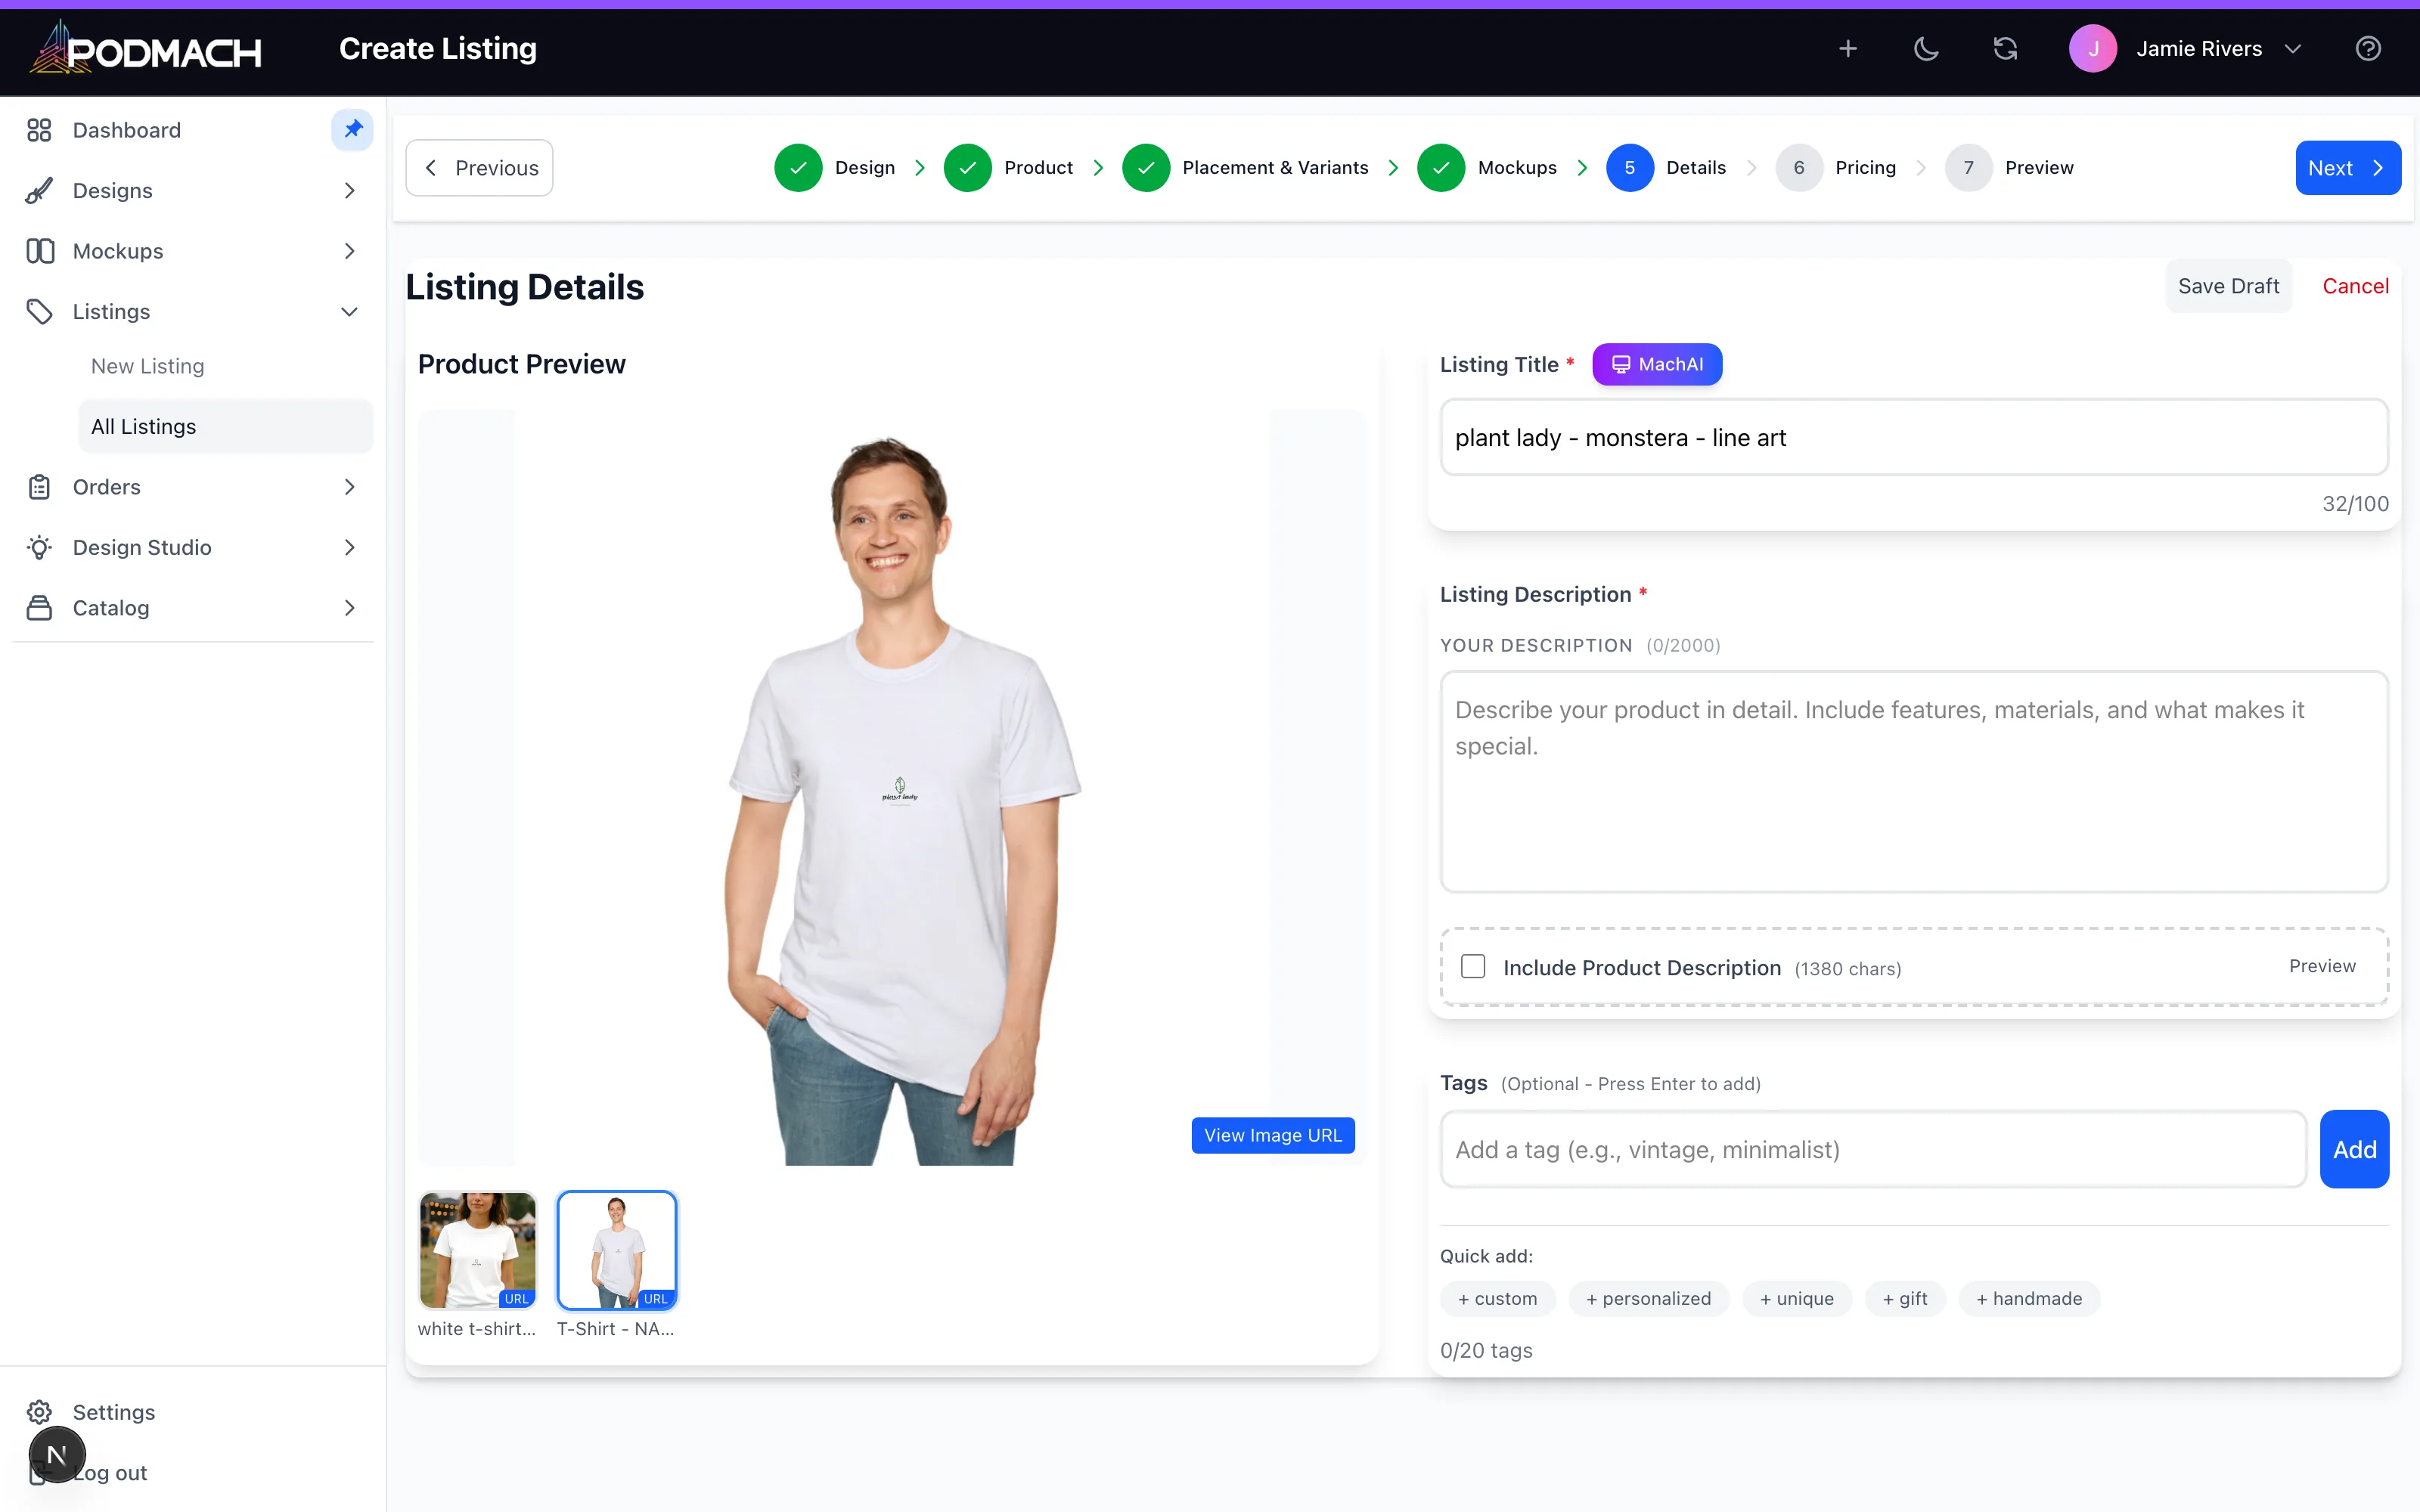
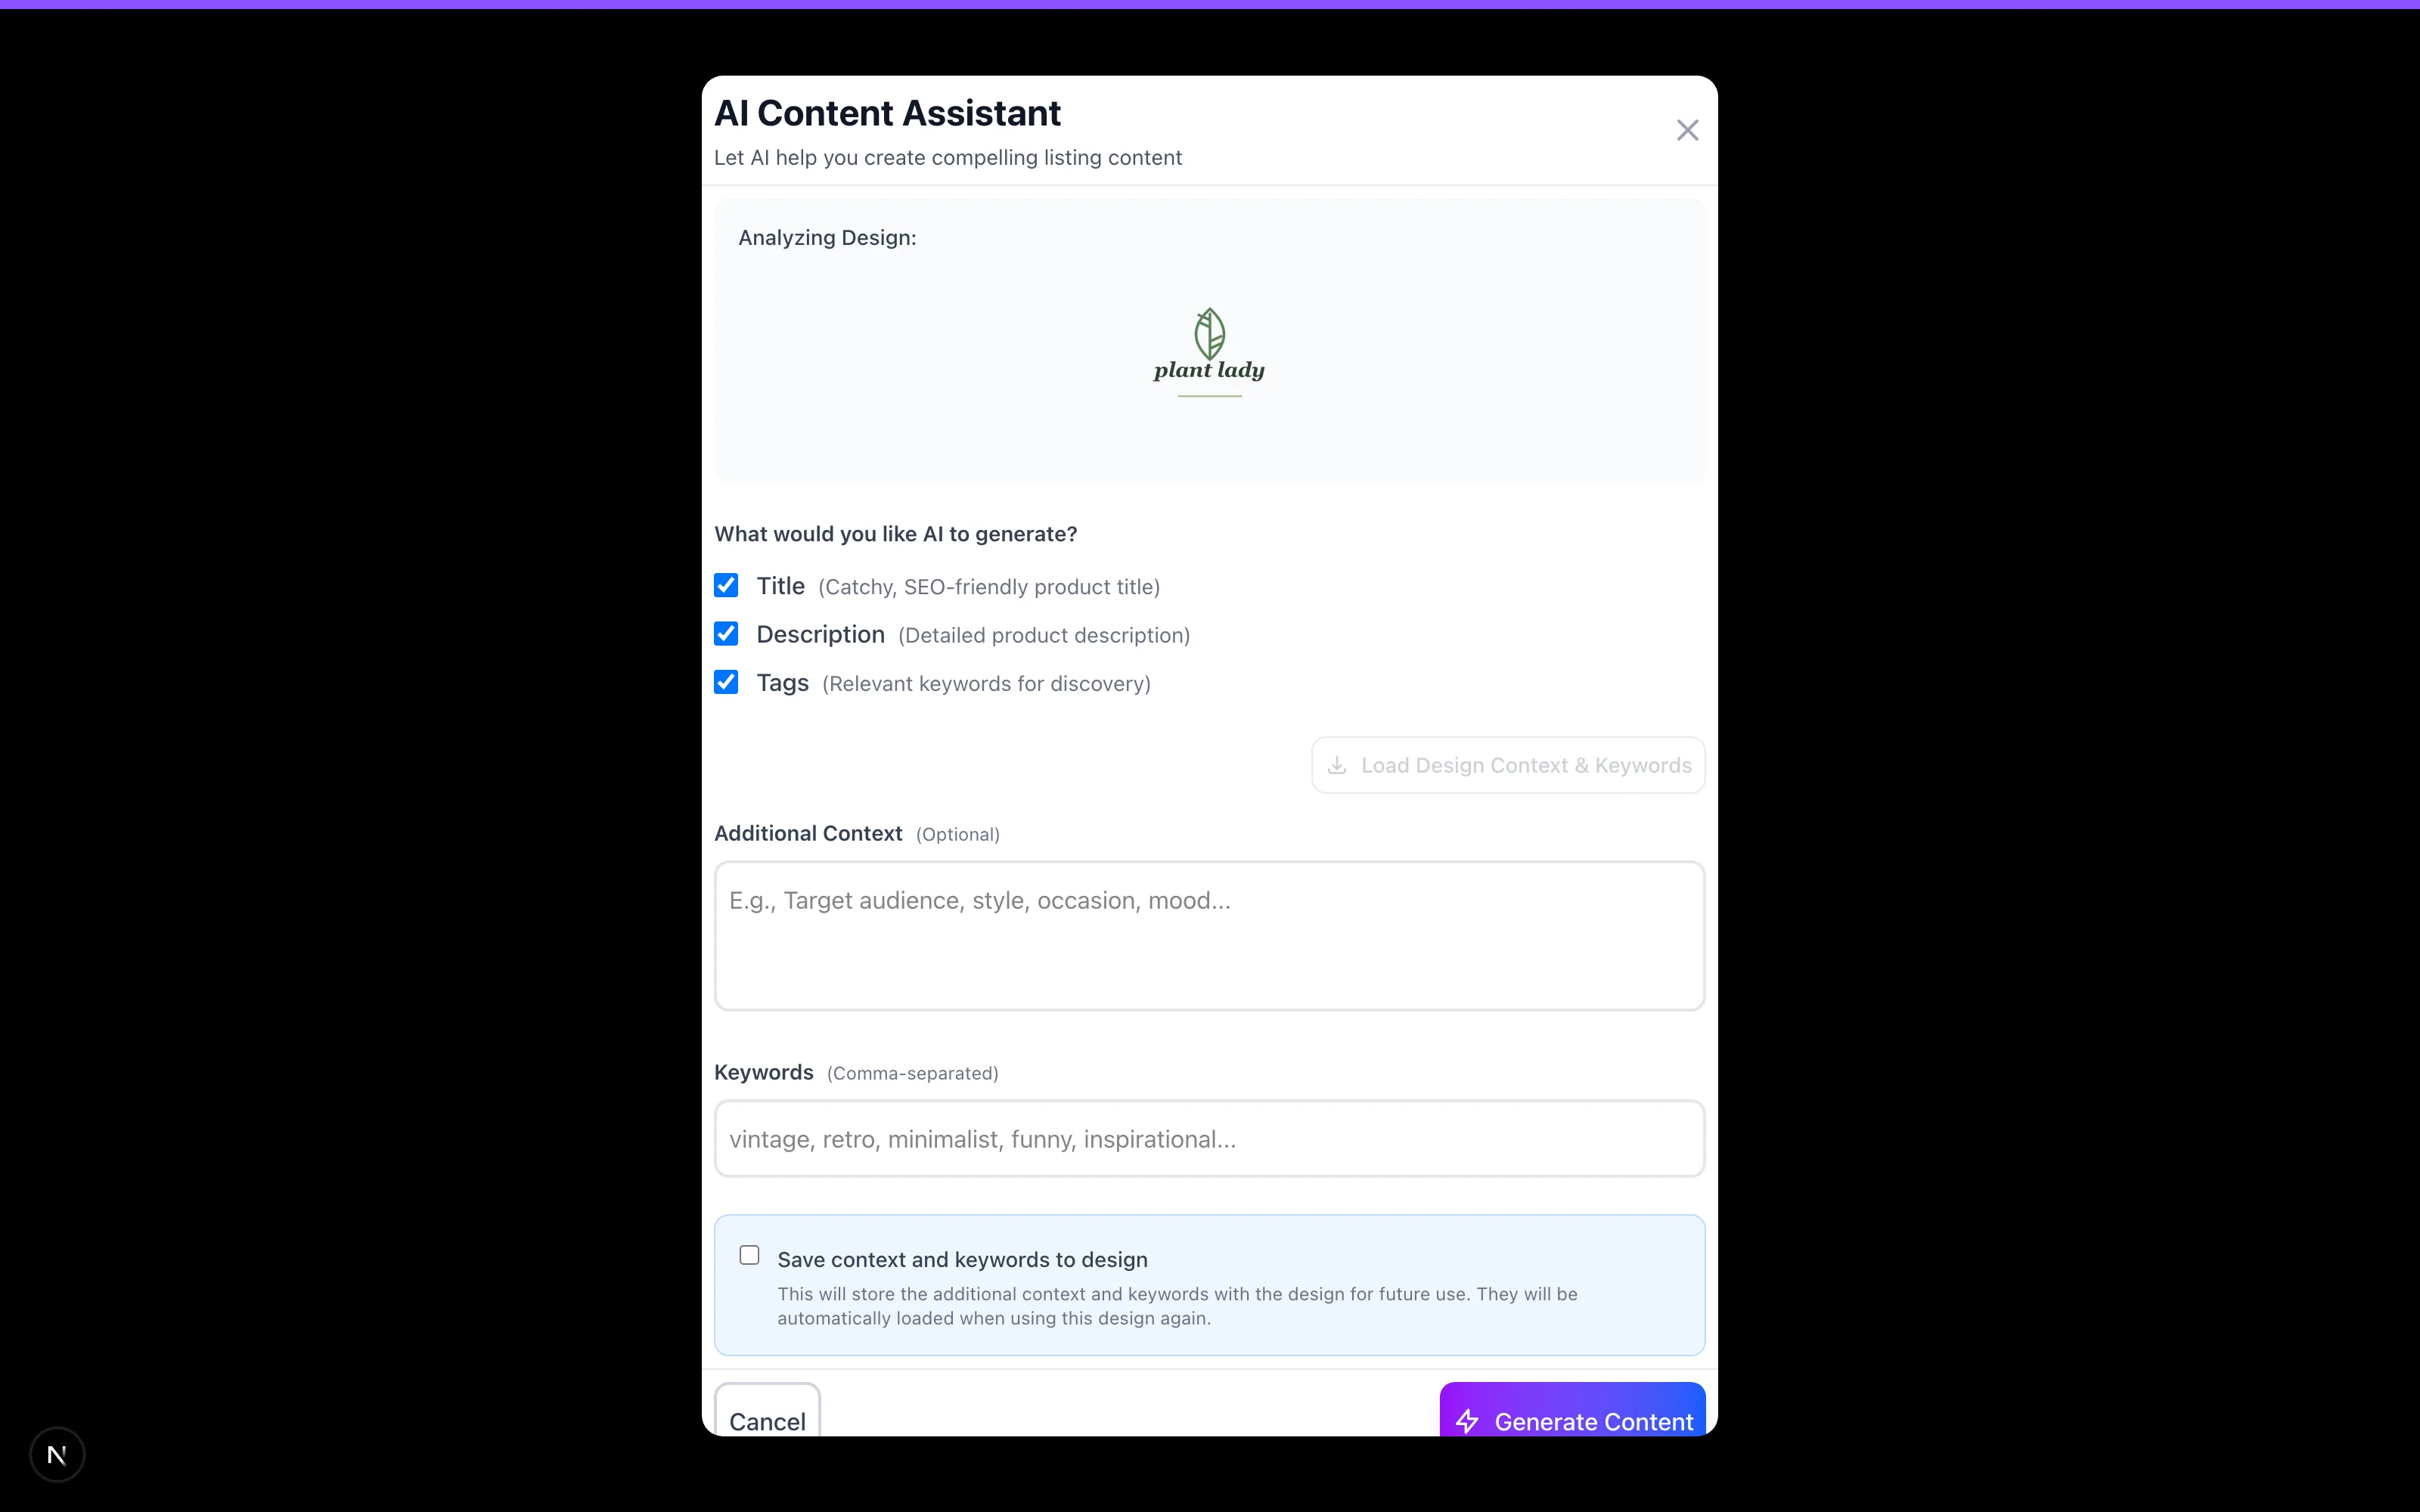
This is also where MACH AI earns its name — it drafts titles, descriptions, and tags from your design and product context. Treat the draft as a strong first pass: keep the structure, inject your niche knowledge. (Full guide: MACH AI: Listing Copy at Speed.)
Step 6 — Pricing
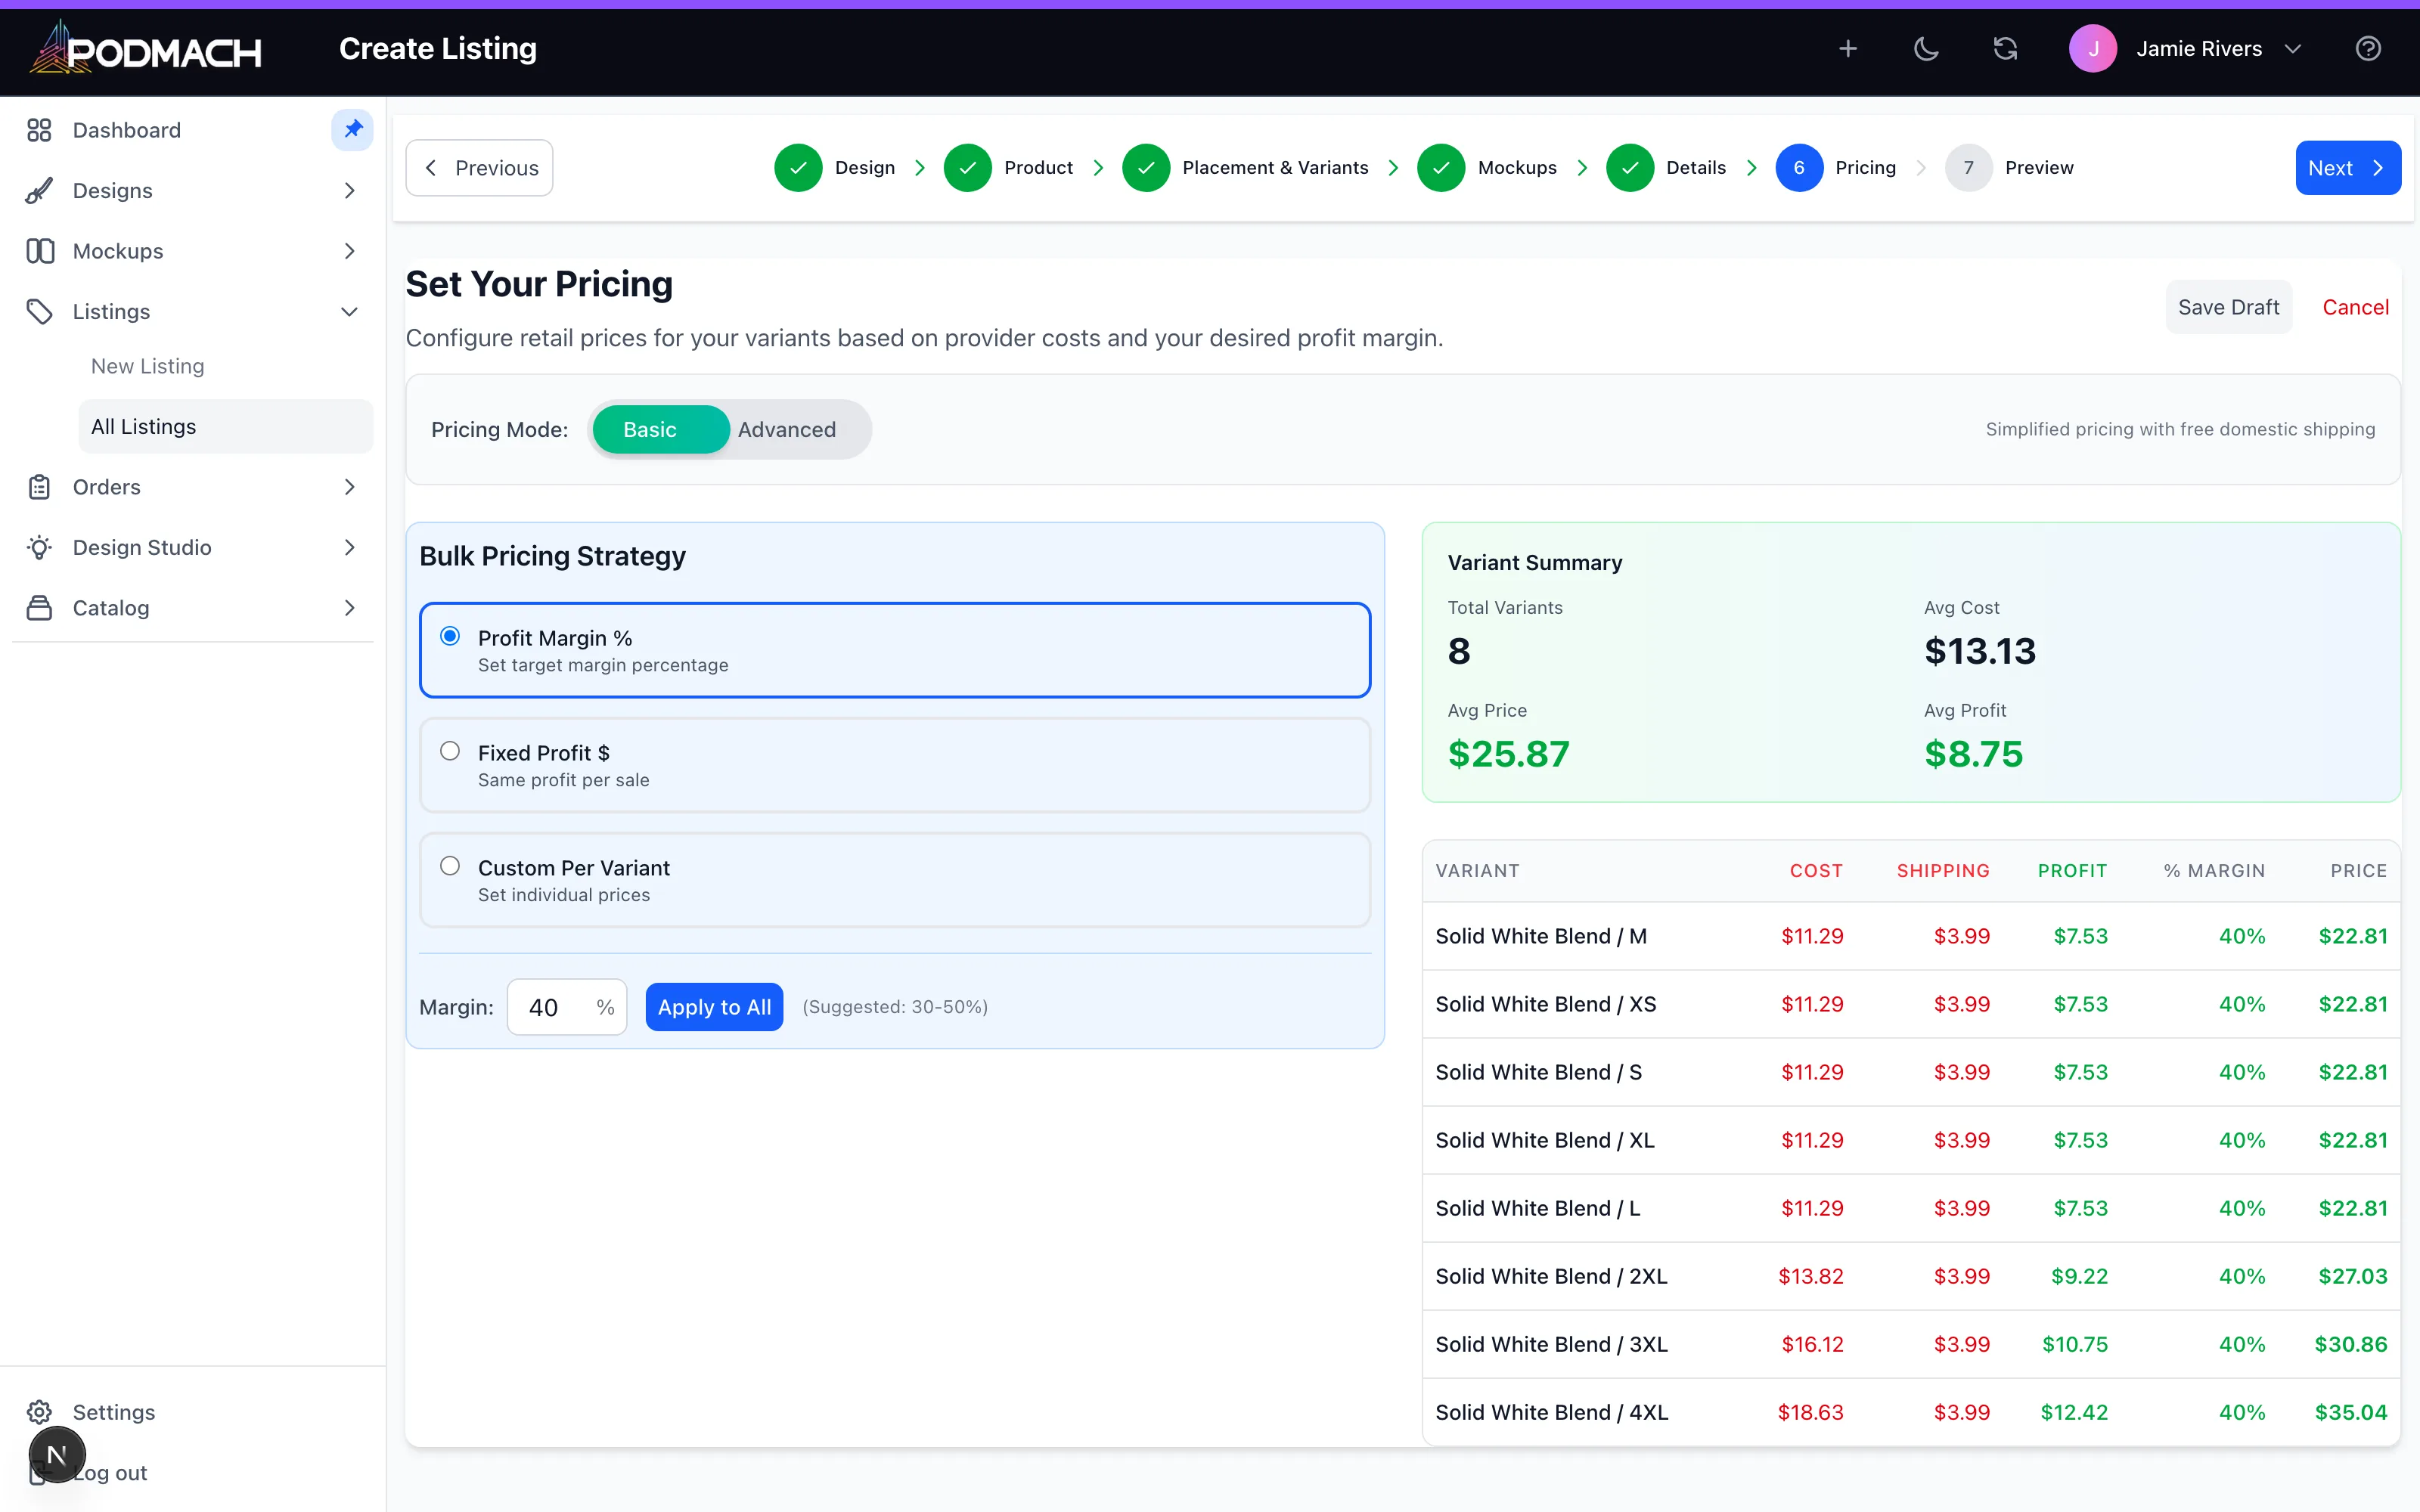
The wizard shows base cost per variant — your price minus that cost, minus platform fees, is your margin. Two rules:
- Price up from your 2XL cost, not just your Small cost, or your large sizes quietly earn nothing. Either price sizes separately or set one price that keeps the worst-case variant profitable.
- Sanity-check against Pricing for Profit before publishing at scale — margin mistakes multiply across a catalog.
Step 7 — Preview & publish
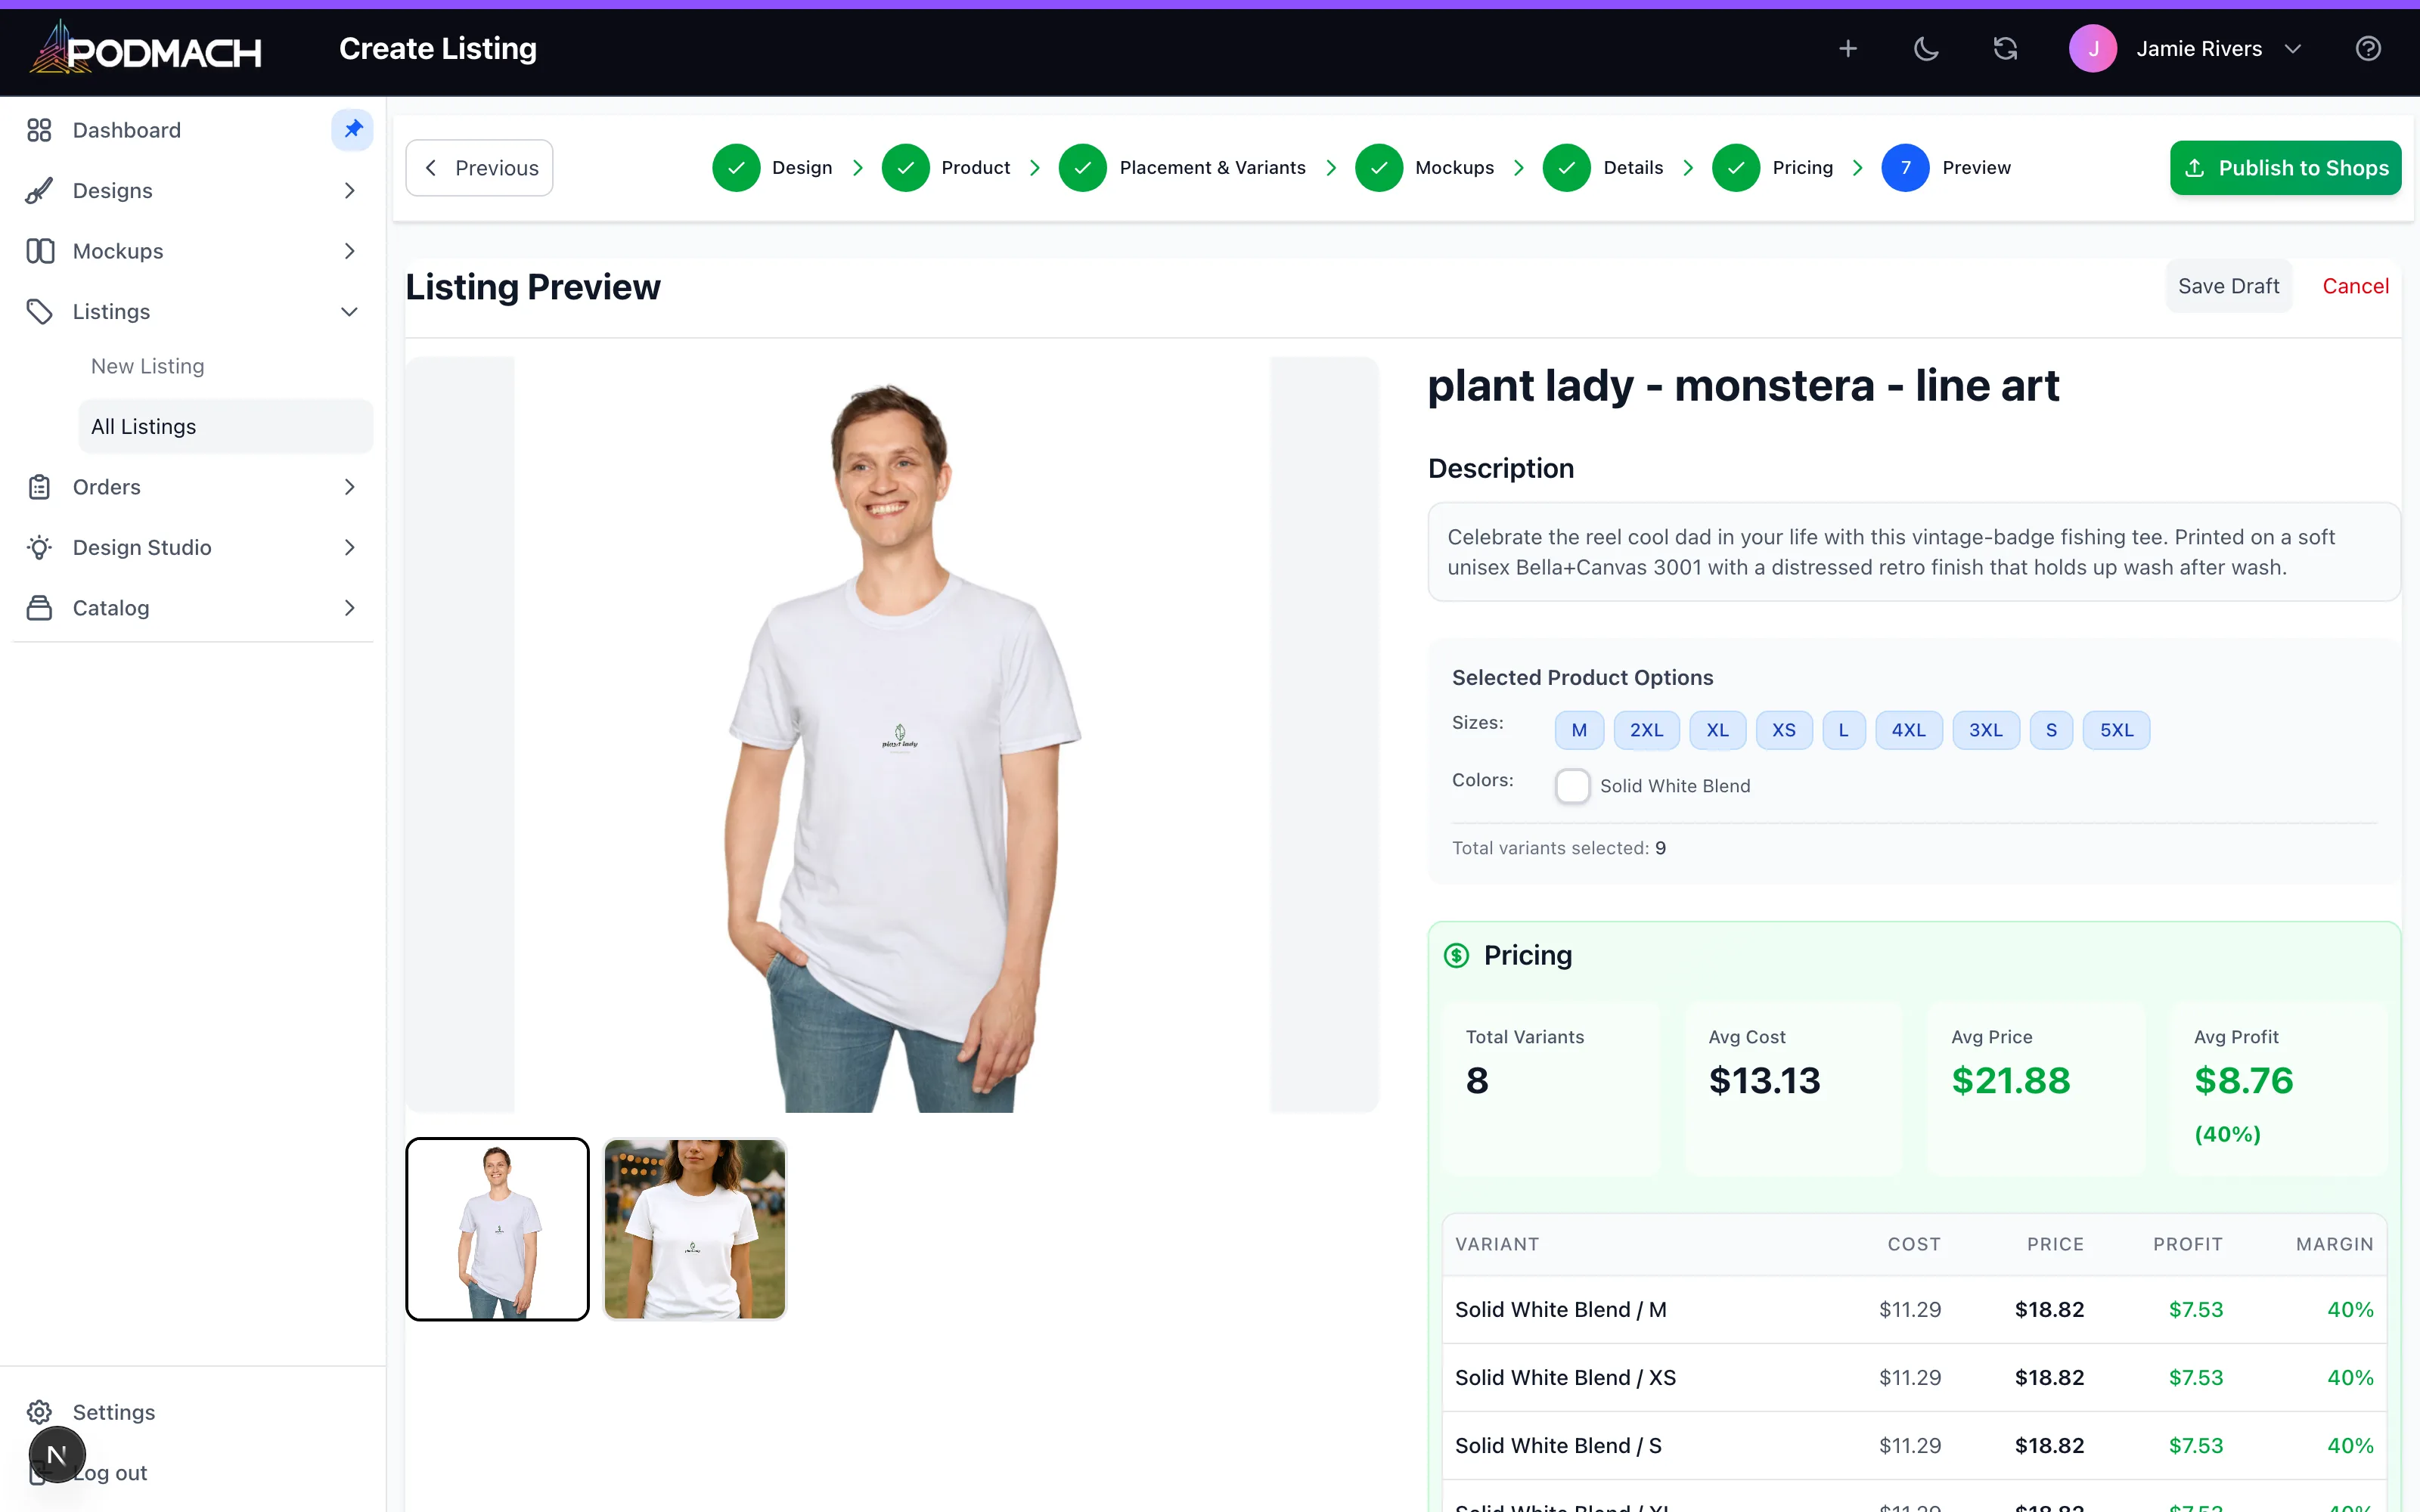
The preview is the buyer's-eye view. The checklist that catches ninety percent of errors:
- Design readable on every enabled color?
- Hero mockup readable at thumbnail size?
- Title starts with search terms, not cleverness?
- Price covers your worst-margin variant?
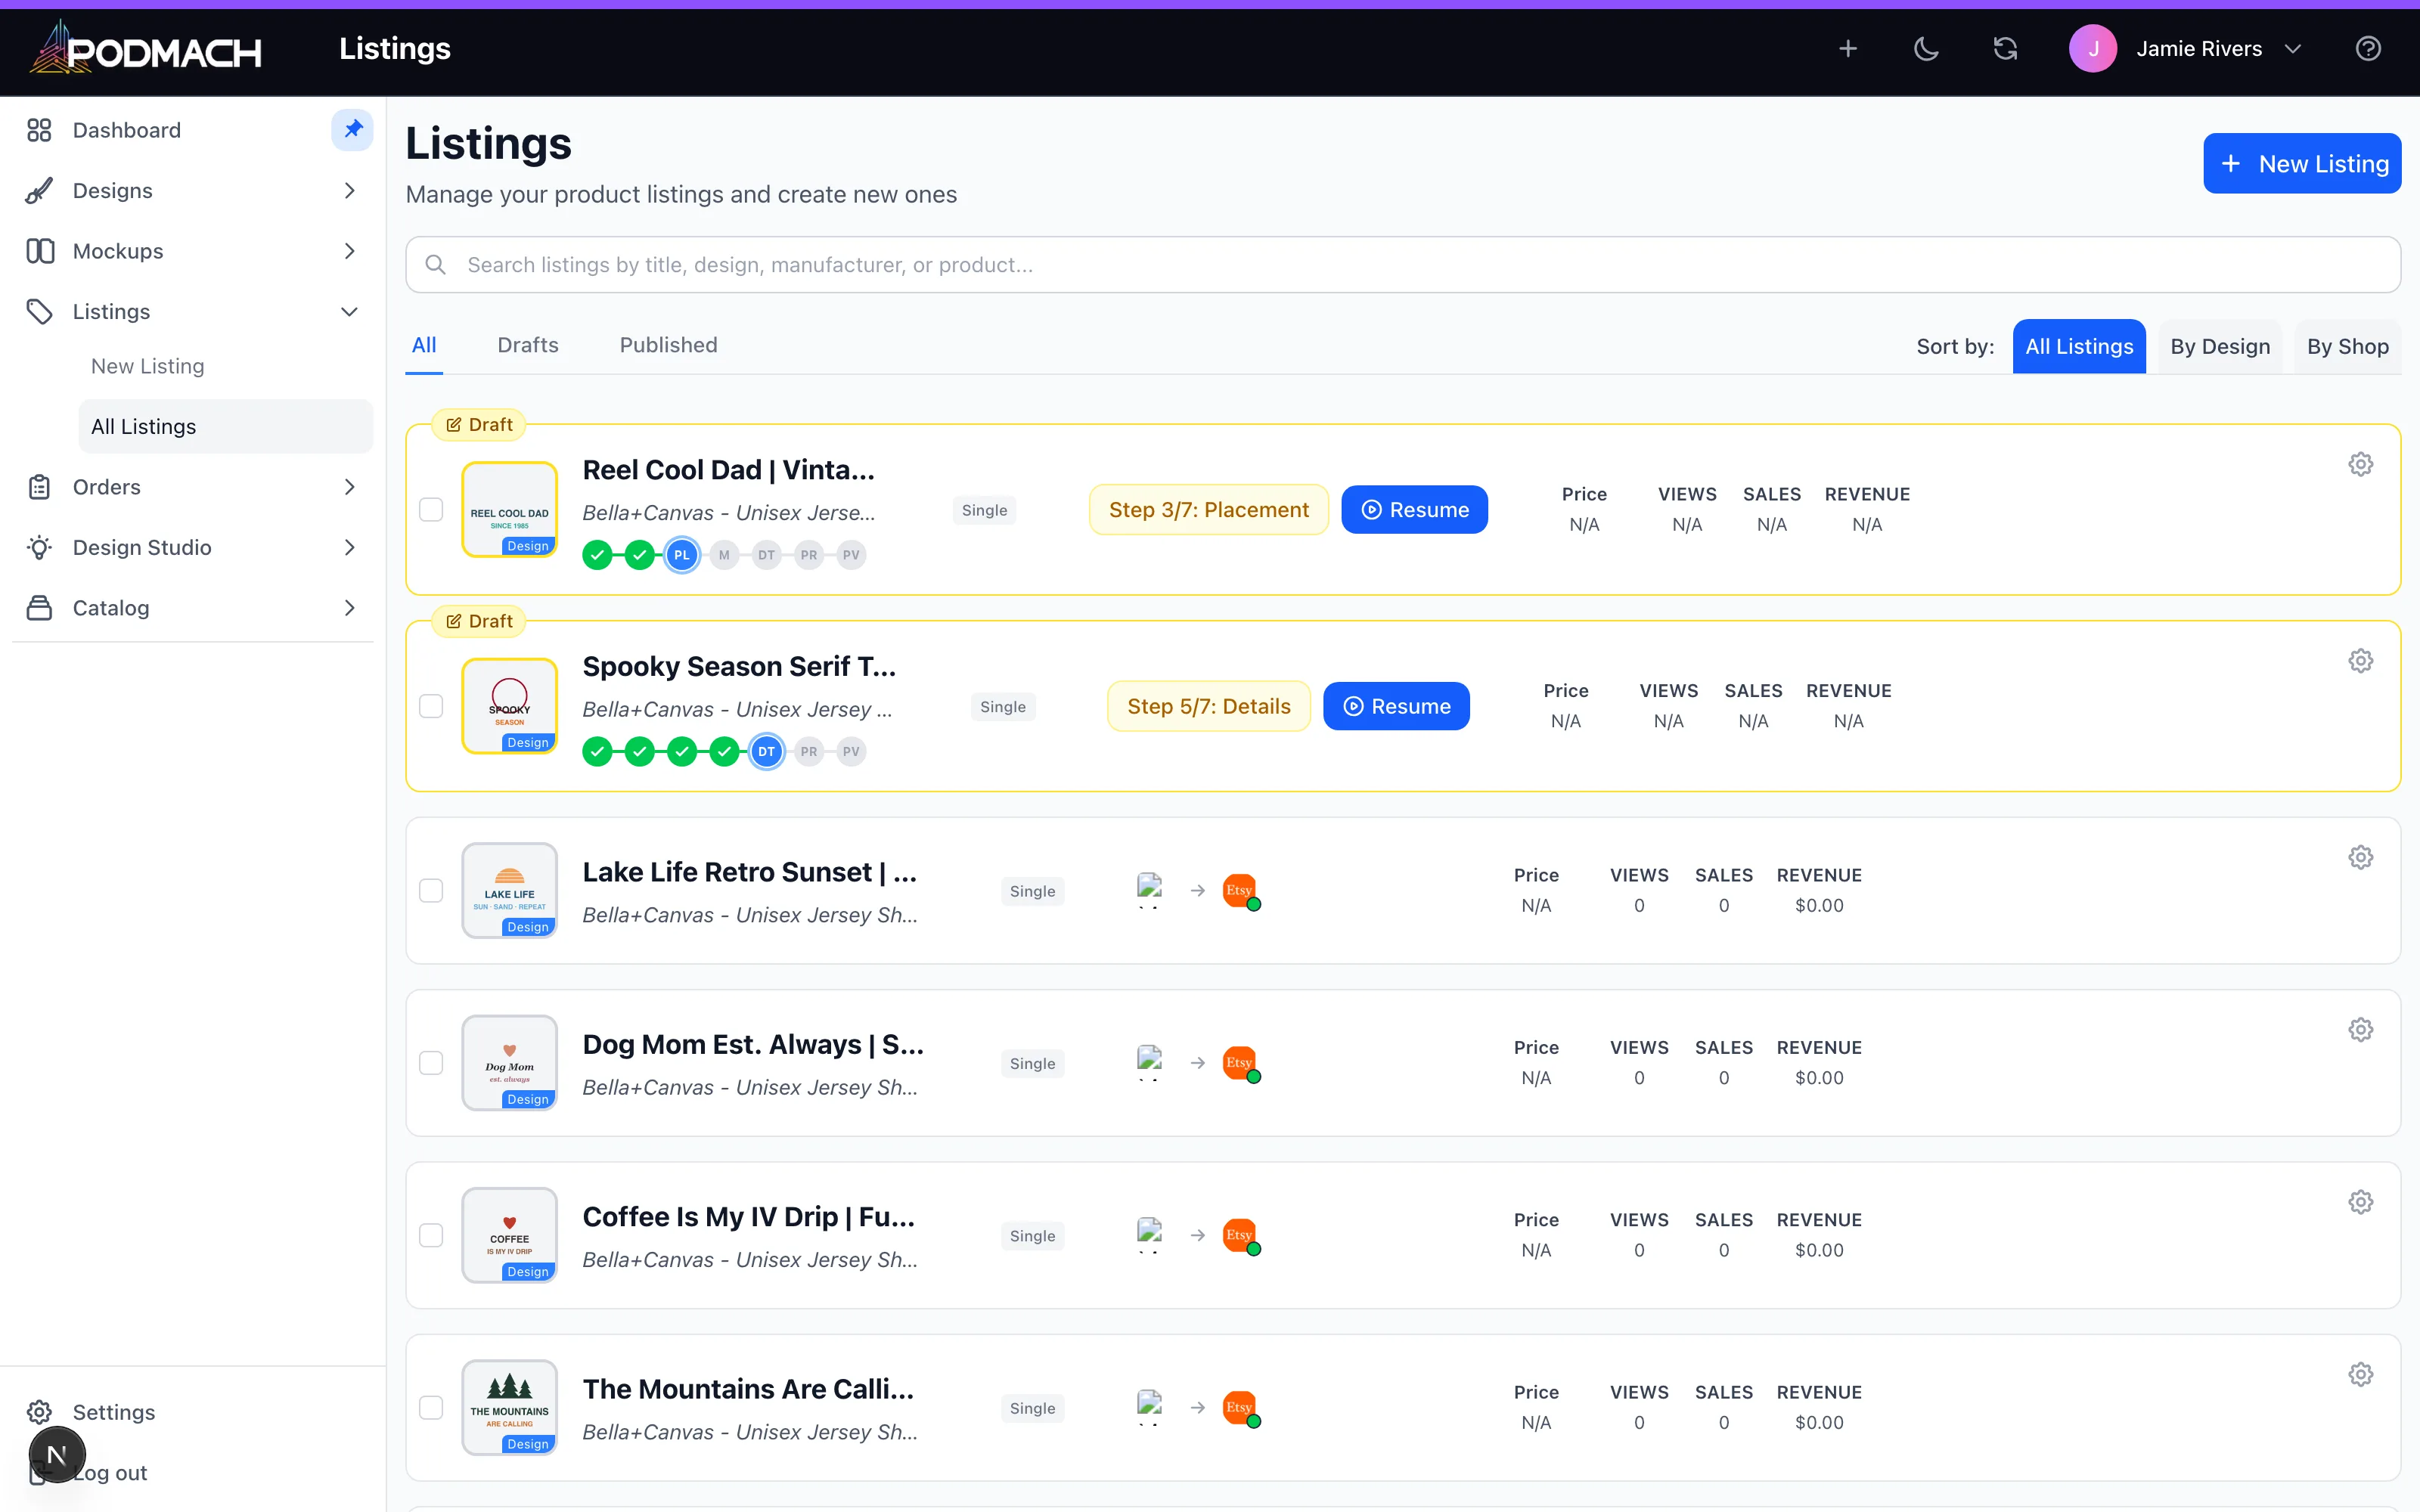
Publish, and the listing goes live on your connected store. PODMACH tracks it from here — orders sync in, and status is visible on the listings page.
Beyond the basic flow
The wizard also handles digital products (downloadables — no print provider involved) and multi-product listings (one listing offering, say, tee + sweatshirt). See Digital & Multi-Product Listings when you're ready for those.
The mindset
Your first listing might take forty minutes. Your twentieth takes ten. The wizard is built for repetition — and repetition, more than any single perfect listing, is what builds a catalog that sells.