PODMach Quick Start: Zero to First Listing
The complete five-step setup: account, store connection, print provider, first design, first listing. Most sellers finish in under an hour.
Welcome to PODMach. This guide takes you from a brand-new account to your first published listing in five steps. Most sellers finish in under an hour — and every step here links to a deeper guide when you want more detail.
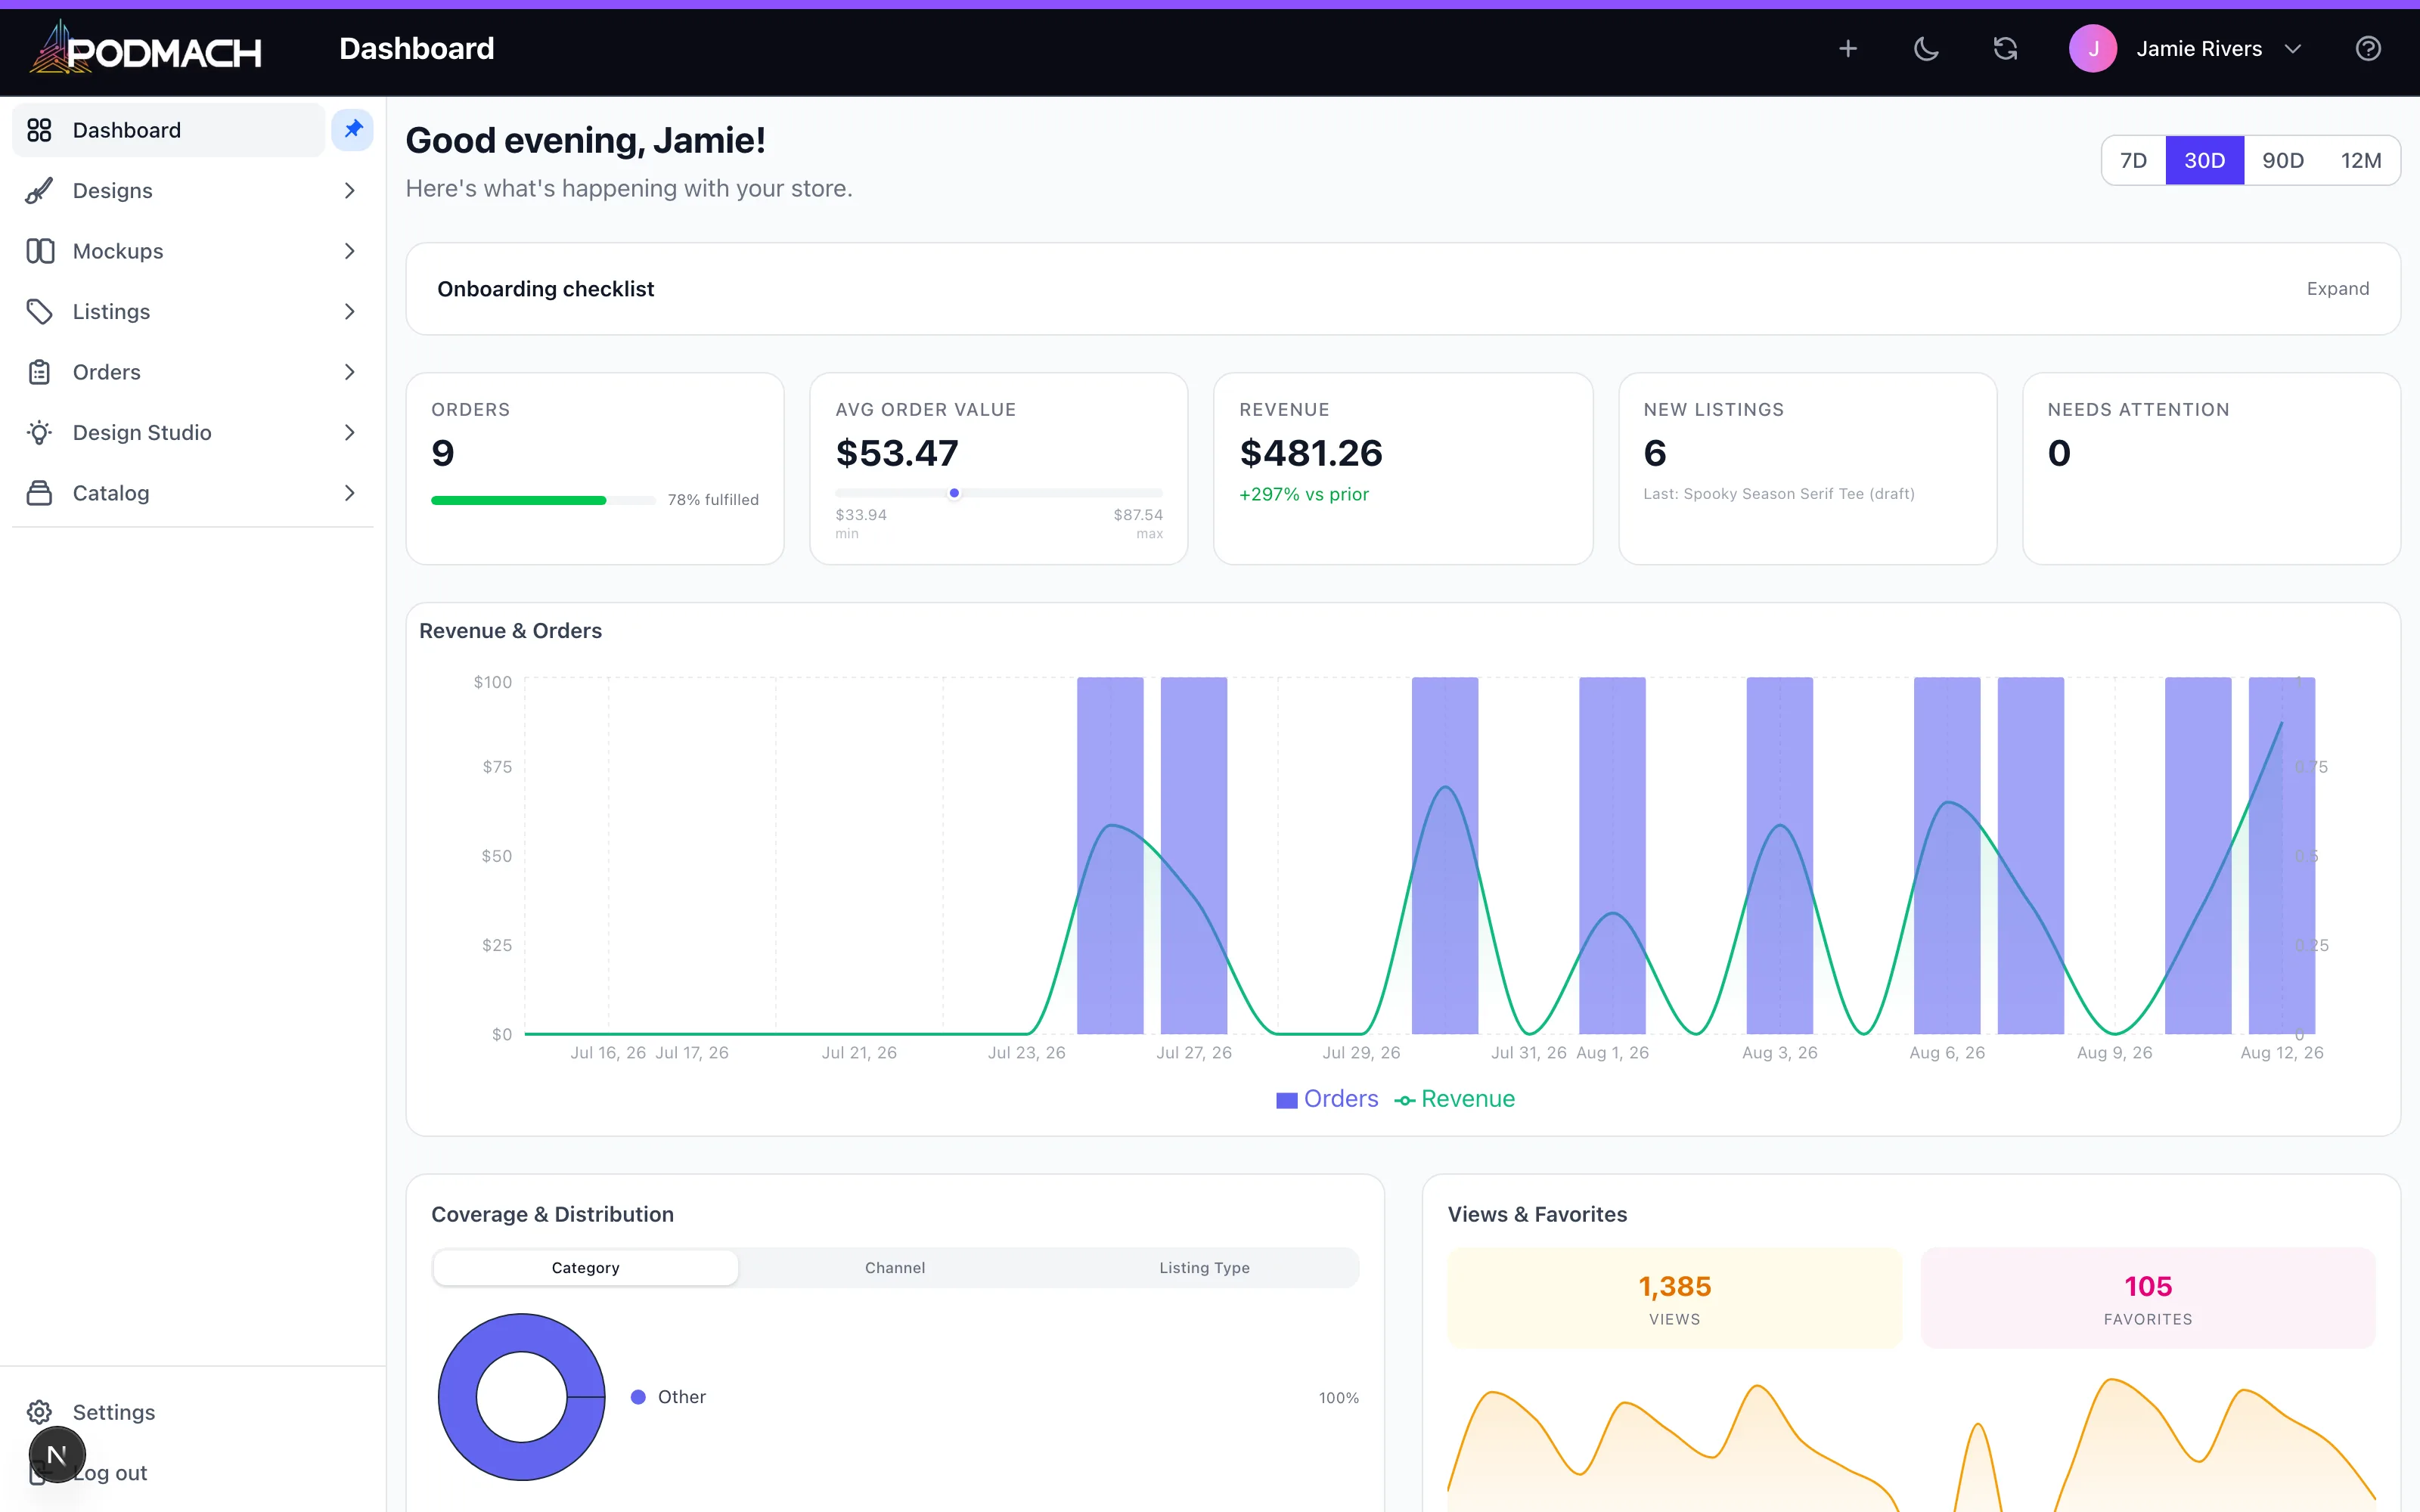
Step 1 — Set up your account
If you're reading this, you've probably already signed up at podmach.com and verified your email. Two things worth doing before anything else:
- Verify your email address if you haven't — the verification email arrived right after signup. Verification unlocks your full account.
- Visit Settings → Preferences and confirm your defaults (currency, language). Thirty seconds now saves confusion later.
Your trial includes full access to every feature in your plan, so nothing in this guide is locked away.
Step 2 — Connect your first store
PODMach manages listings across your sales channels — Etsy, Shopify, and WooCommerce. Connecting is a one-time authorization:
- Go to Settings → Integrations.
- Choose your platform and click Connect.
- You'll be sent to the platform's own authorization screen (Etsy, Shopify, or WooCommerce) to approve access. PODMach never sees your store password — the platform issues a secure token instead.
- Once you approve, you'll land back in PODMach with the store connected, and your existing listings and orders begin syncing in.
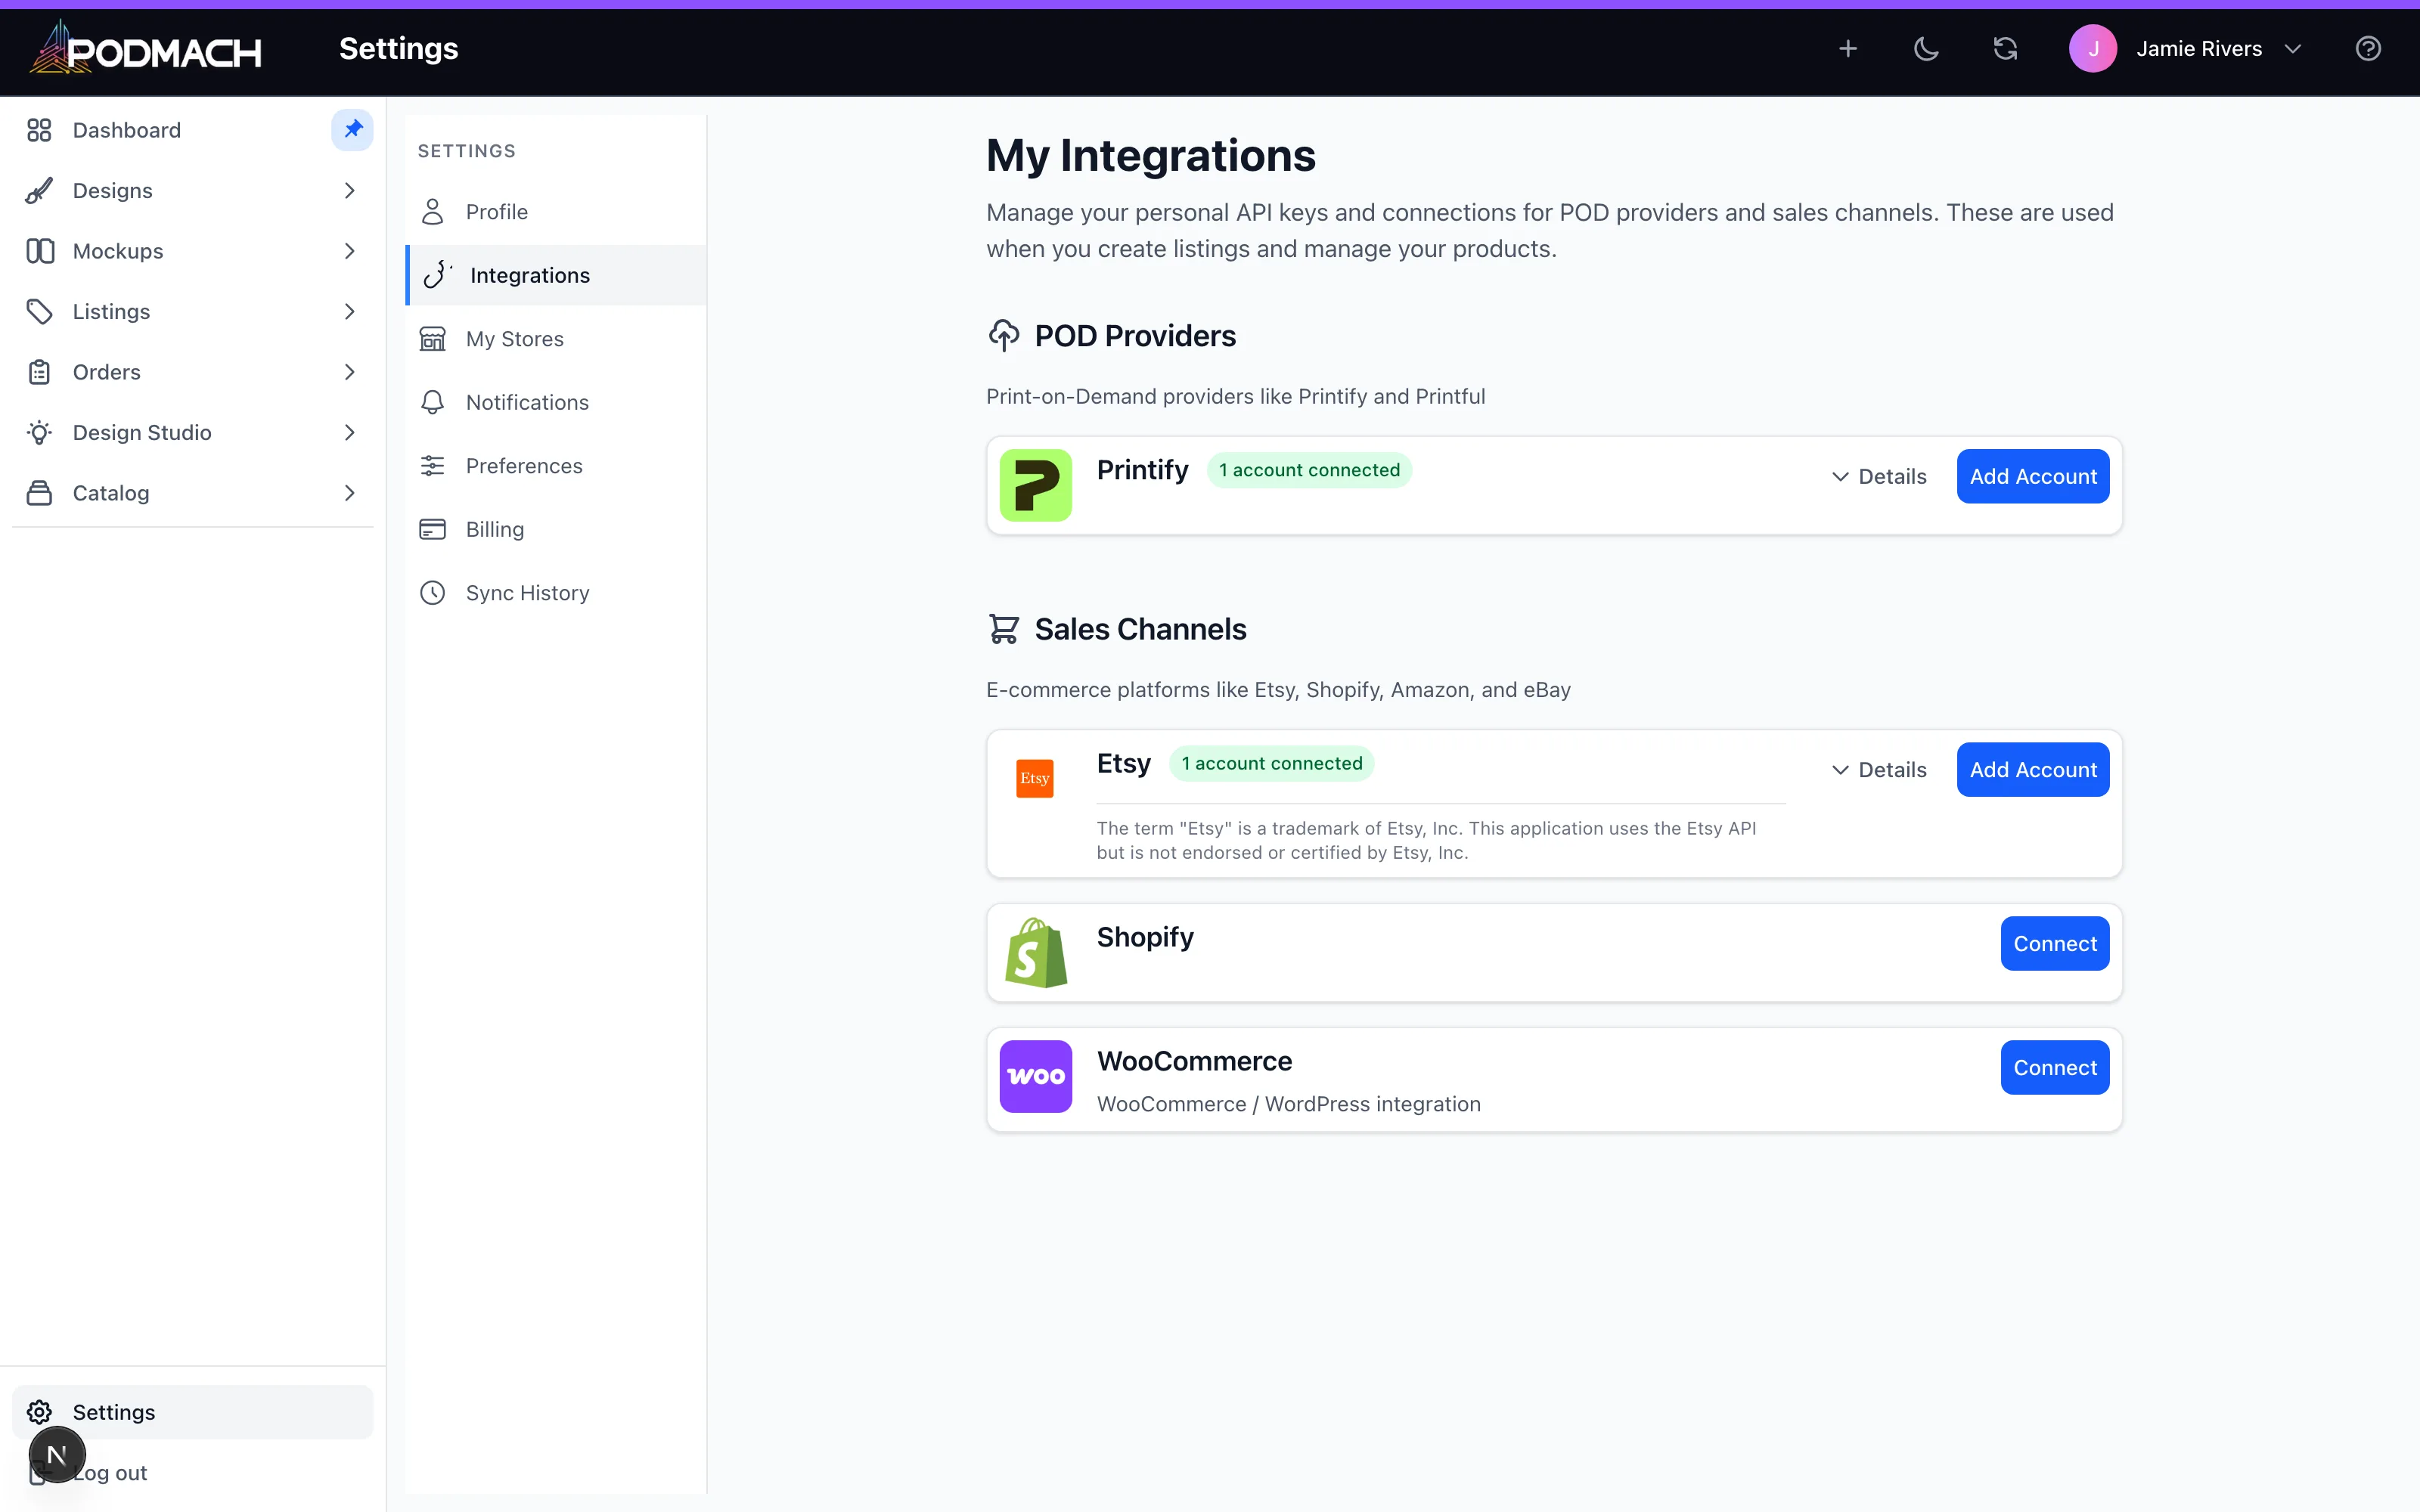
If you sell on more than one platform, connect them all — PODMach is built for multi-store selling. See: Connecting Your Etsy Shop and Connecting Shopify & WooCommerce.
Step 3 — Connect your print provider
PODMach works with Printify to produce and ship your products:
- In Settings → Integrations, connect your Printify account.
- Approve the authorization on Printify's side.
- PODMach syncs Printify's product catalog — the blueprints (t-shirts, mugs, posters, and hundreds more) and print providers you'll choose from when creating listings.
Don't have a Printify account yet? It's free to create at printify.com — set it up first, then connect. See: Connecting Printify.
Step 4 — Upload your first design
Your design library is home base for your artwork:
- Go to Designs → Upload.
- Drag in your artwork files. For apparel printing you generally want high-resolution PNG files with transparent backgrounds — 300 DPI at the print size you intend.
- Give each design a name you'll recognize in a hurry, and organize into your portfolio as your library grows.
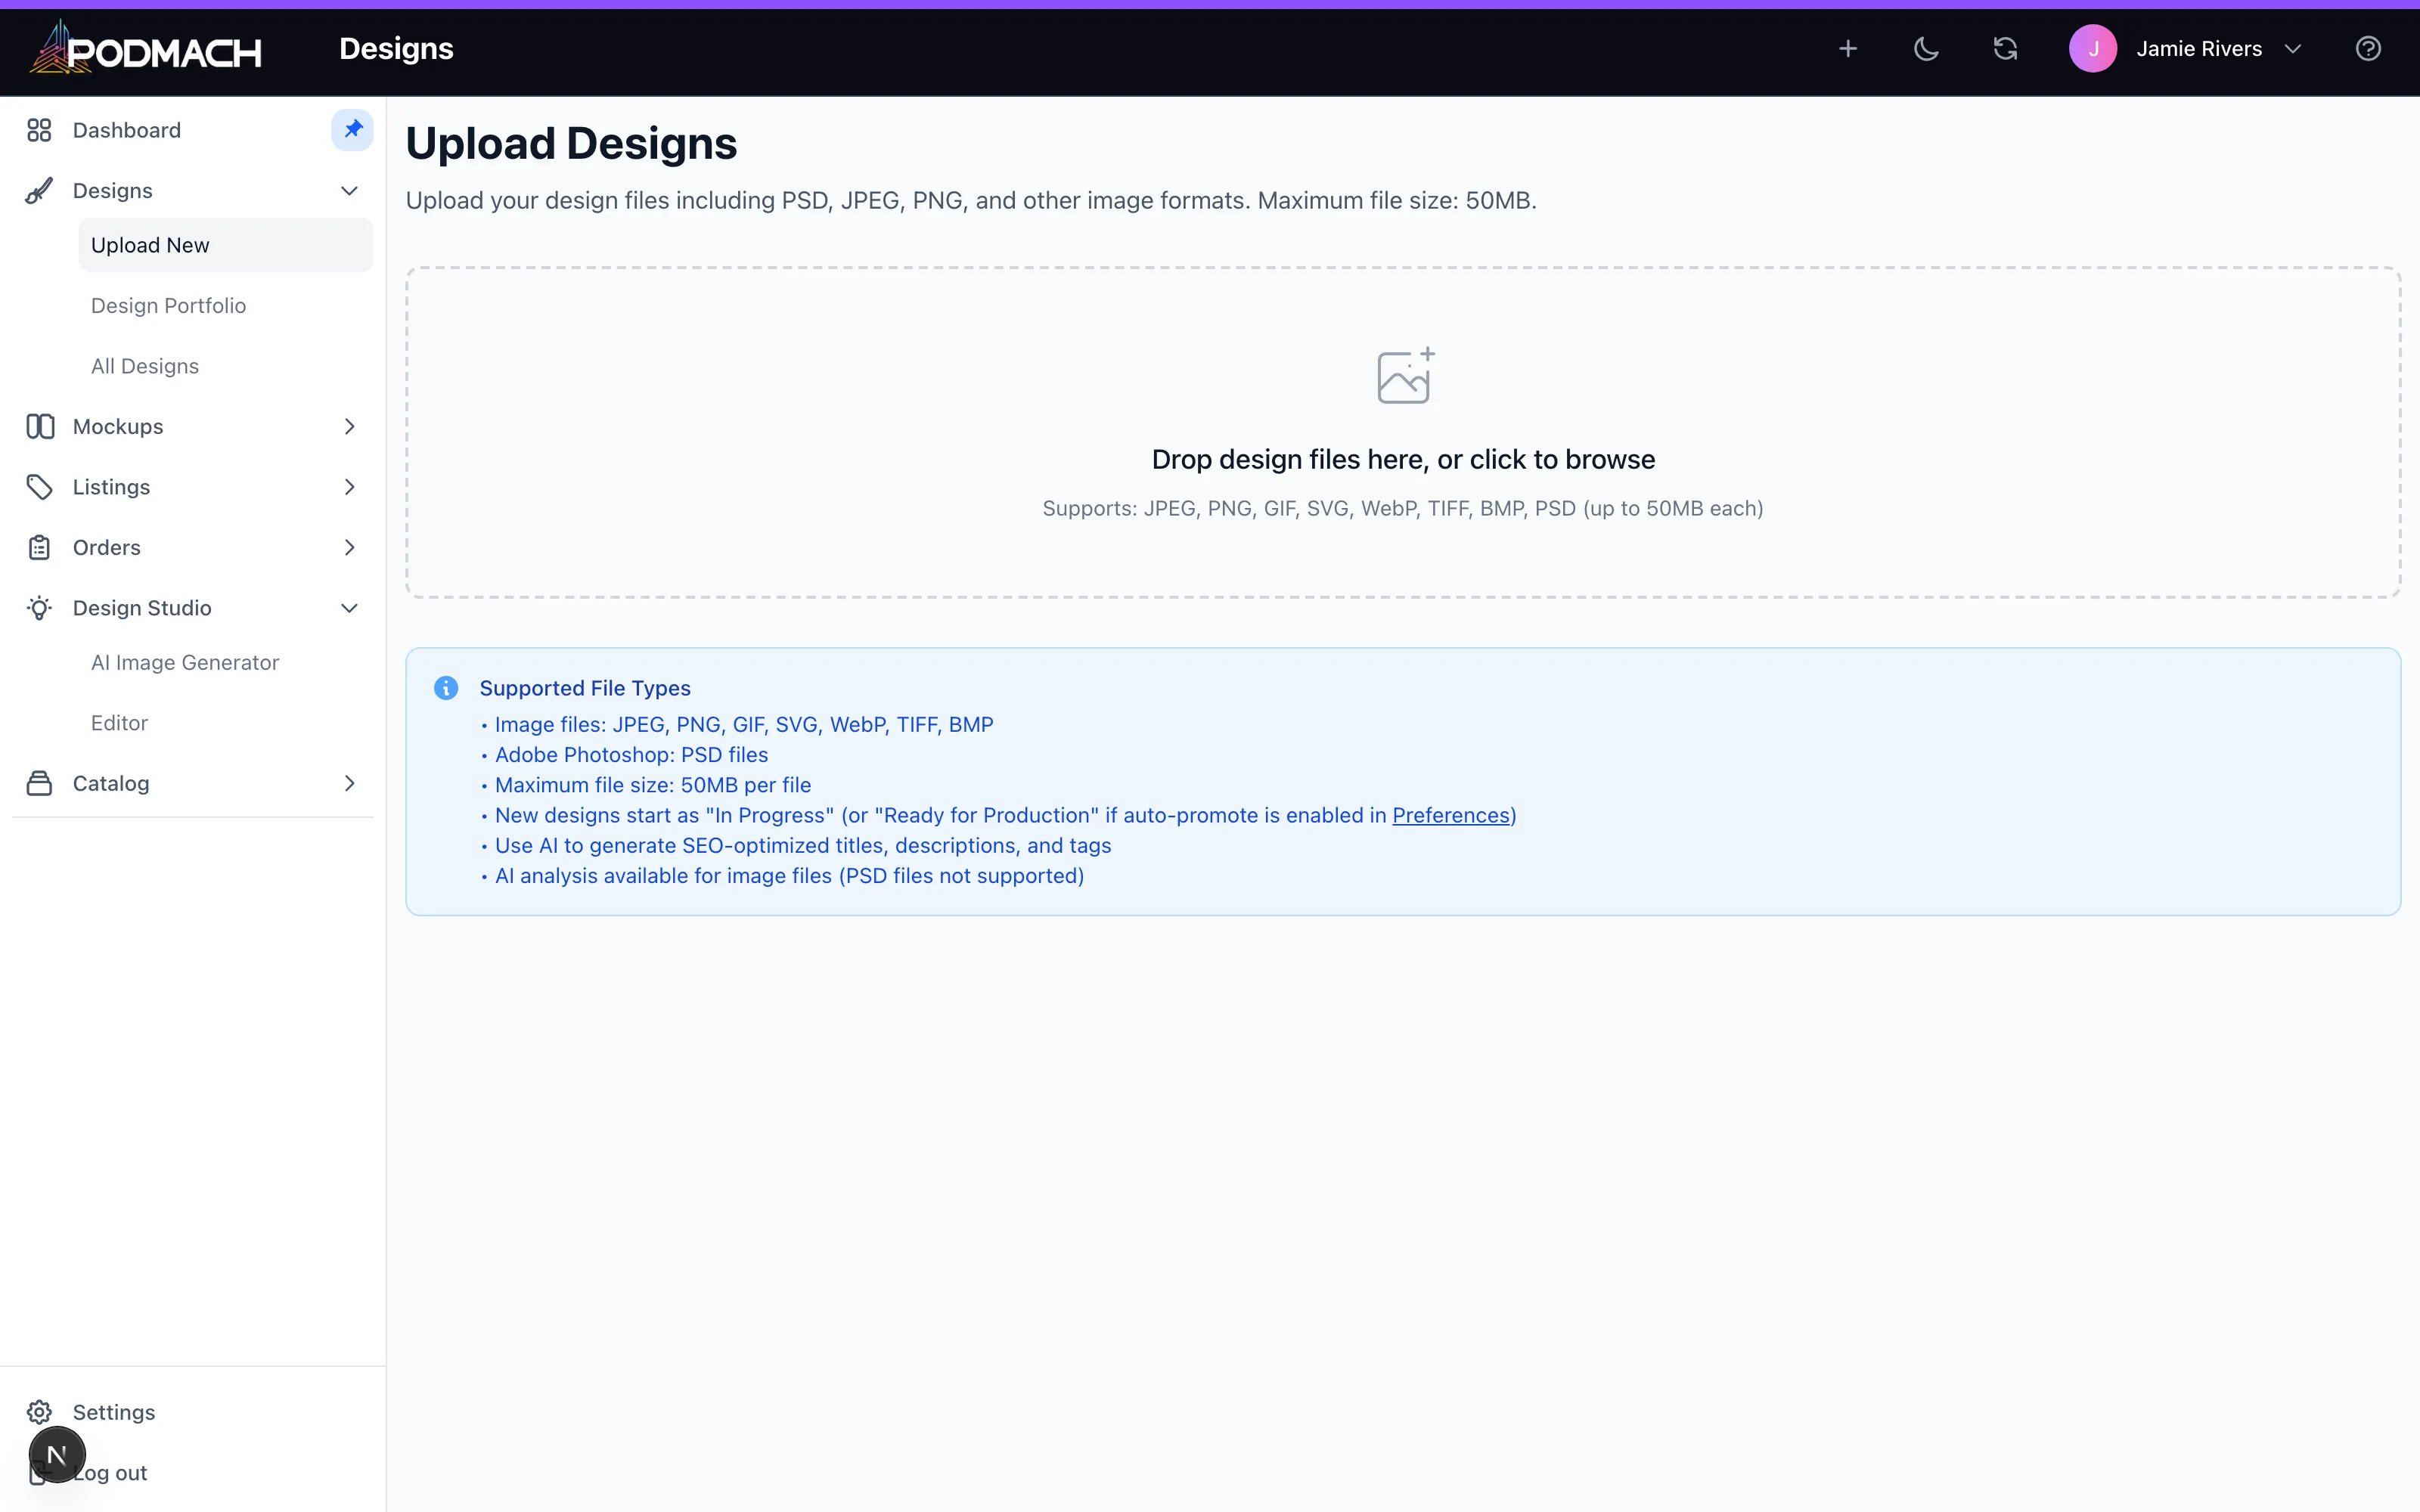
A design uploaded once can be used across unlimited products and listings — upload the master file at the highest quality you have. See: Uploading & Organizing Designs.
Step 5 — Create your first listing
This is where it all comes together. The listing wizard walks you through the whole thing:
- Go to Listings → Create.
- Choose your design from your library — the wizard leads with the artwork.
- Pick your product — choose a blueprint from the catalog (say, a classic unisex tee) and a print provider, then position your design on it.
- Select your mockups — the product photos buyers will actually see.
- Write the listing details — title, description, and tags. This is where MACH AI can draft listing copy for you; edit to taste.
- Set your pricing — the wizard shows your cost per variant so you can see margin as you price.
- Preview and publish to your connected store.
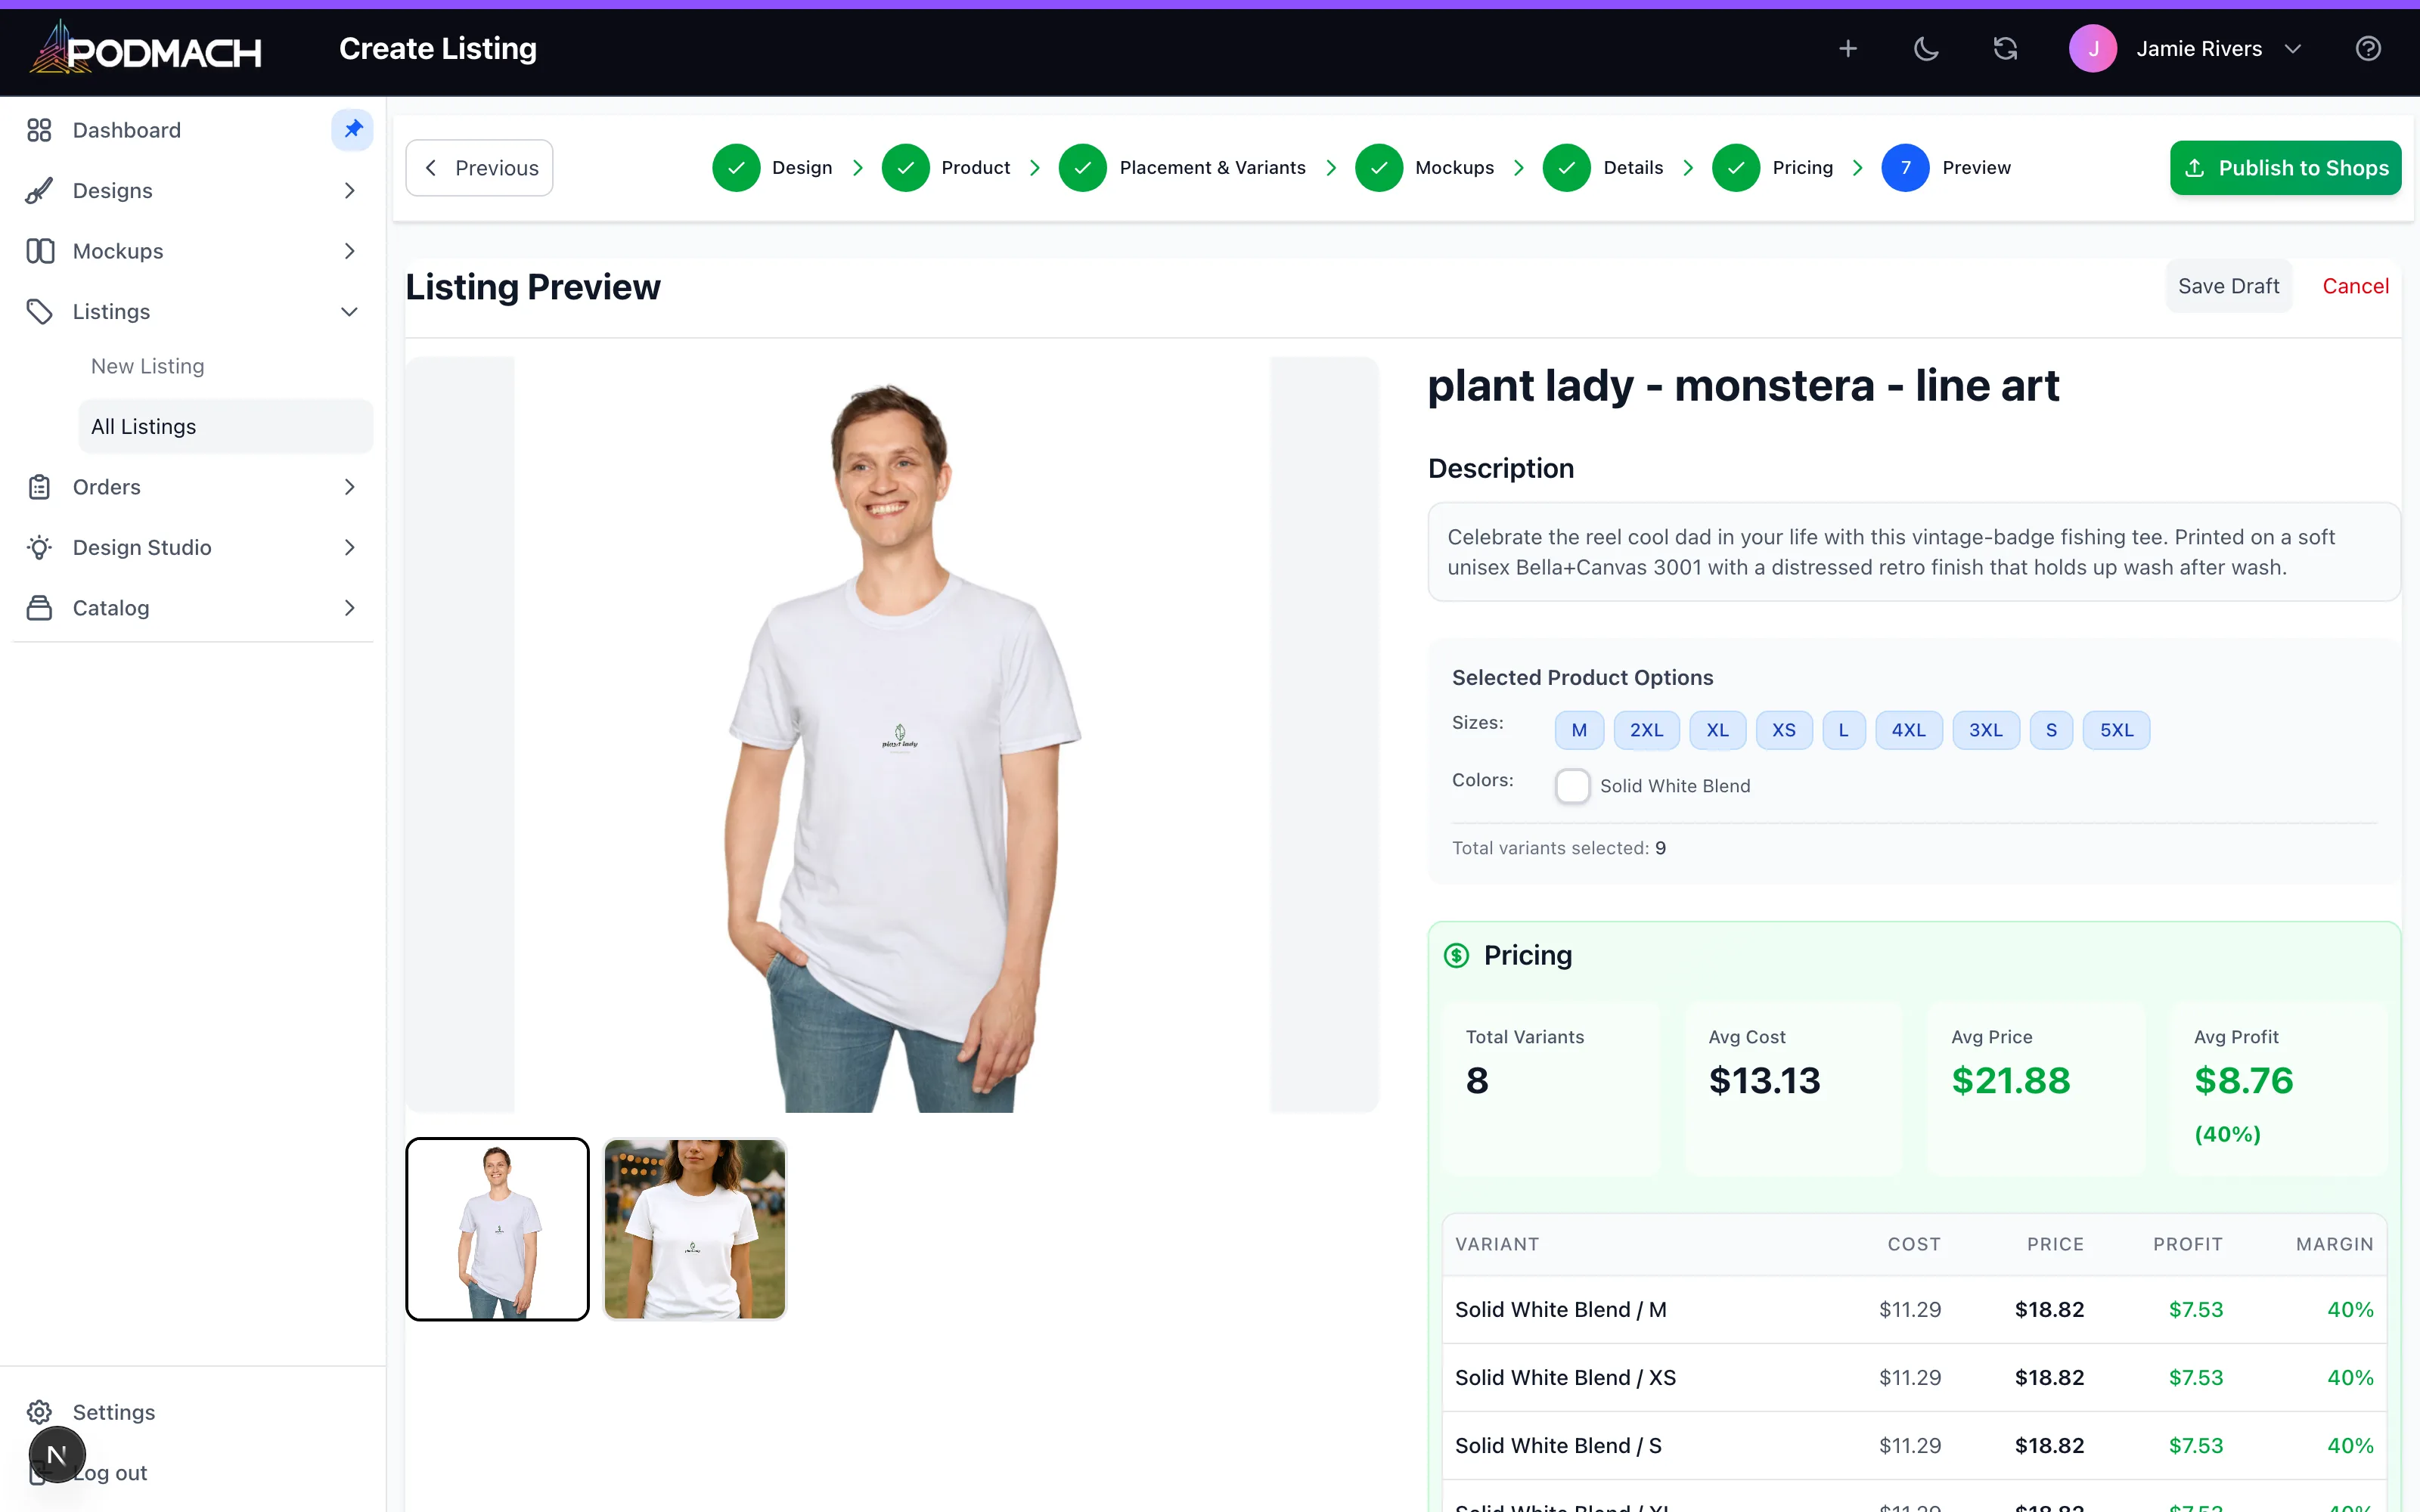
Your listing goes live on your sales channel, and from that point PODMach tracks it — orders sync in, and fulfillment flows through your print provider automatically.
What's next
- Watch for your first sale. There's nothing like it.
- Work through the POD Foundations learning path if you're new to print-on-demand.
- Read Pricing for Profit before you publish too many listings — margin mistakes multiply.
- Questions at any point? Email support@podmach.com — a human reads it.
Keep going
New to print-on-demand? The POD Foundations path picks up right where this guide leaves off.
Start POD Foundations